If you want to get your children in the kitchen with you, this homemade pizza dough recipe is great. This dough gets an A+ in the ease of preparation department and I have step by step photos to prove it. Your children will certainly be up for the task of kneading this no-fail dough all by themselves. The key for this dough is to let it rest after its initial stirring to mix so all of the water can be absorbed by the flour before you knead it.
Enjoy!
Homemade Pizza Dough
(Enough for 4-6 generous individual pizzas) *number dependent on the thickness of each crust
1 1/2 C warm tap water (temperature 110 degrees or so, think warm bath water)
1 TBSP instant yeast or yeast for bread machines (active dry will work too, rising time will increase)
1 TBSP honey
4 TBSP Olive Oil
2 tsp salt
3 3/4 C All Purpose Flour (for a healthier version you may sub up to 2 C whole wheat flour here)
Here are the instructions:

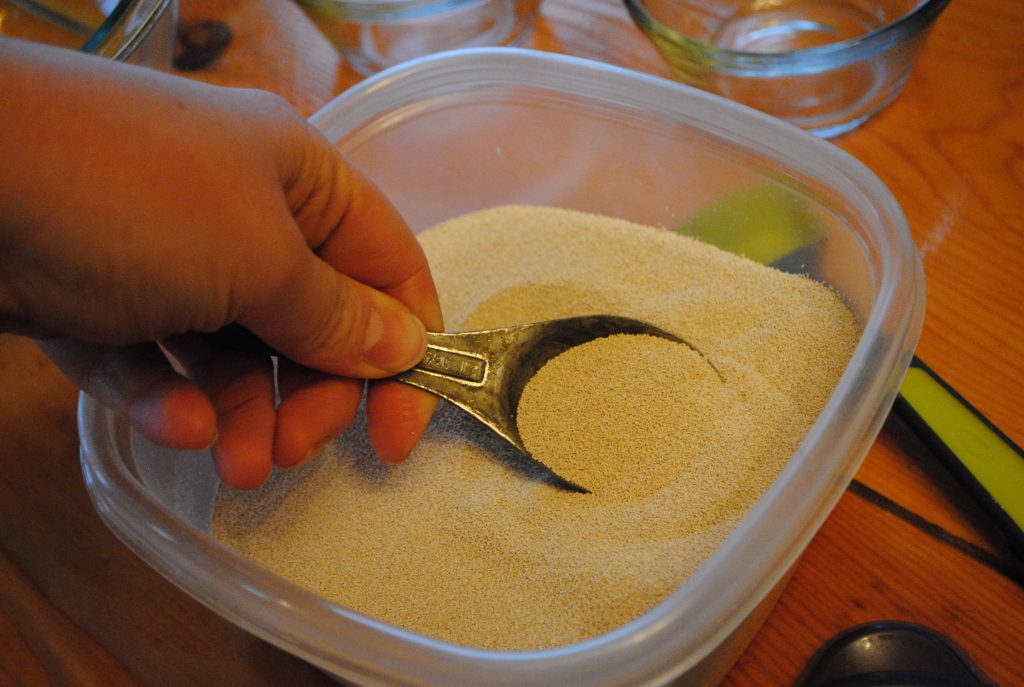
Next, measure 1 TBSP of instant yeast and pour it into the warm water.
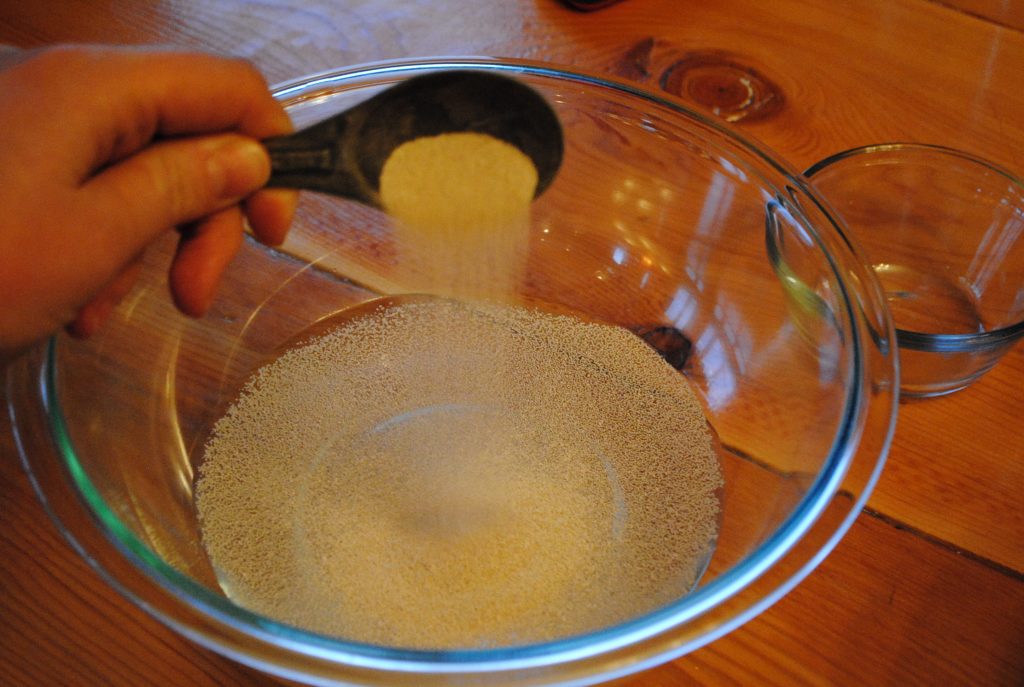
Now add 1 TBSP honey (I never really measure this, tisk tisk, I know!)

At this time I like to whisk the mixture together so it is combined.
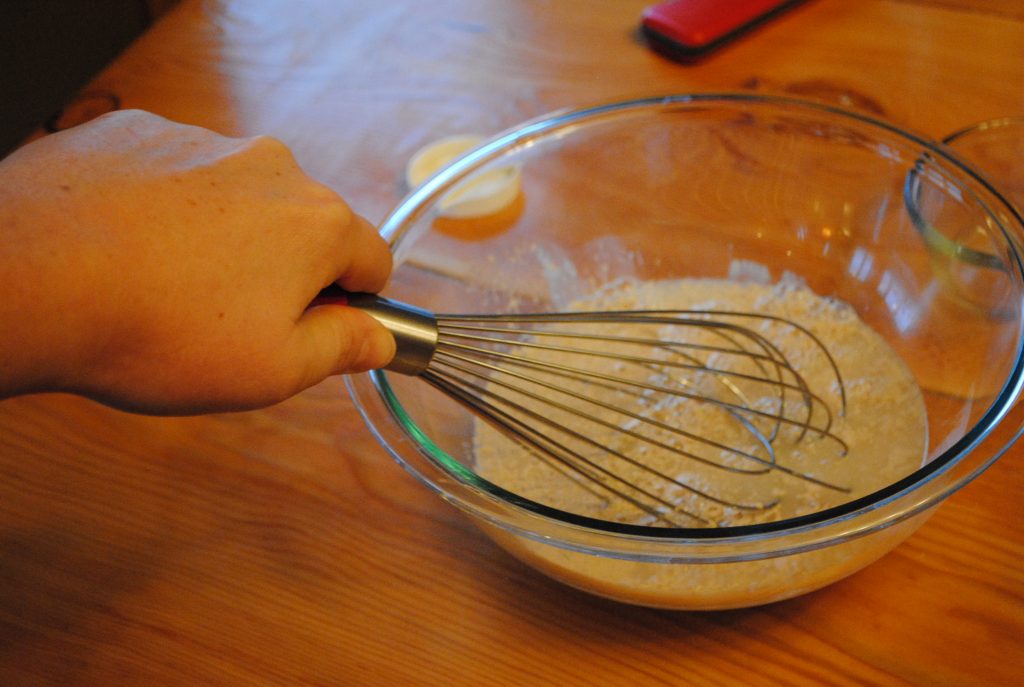
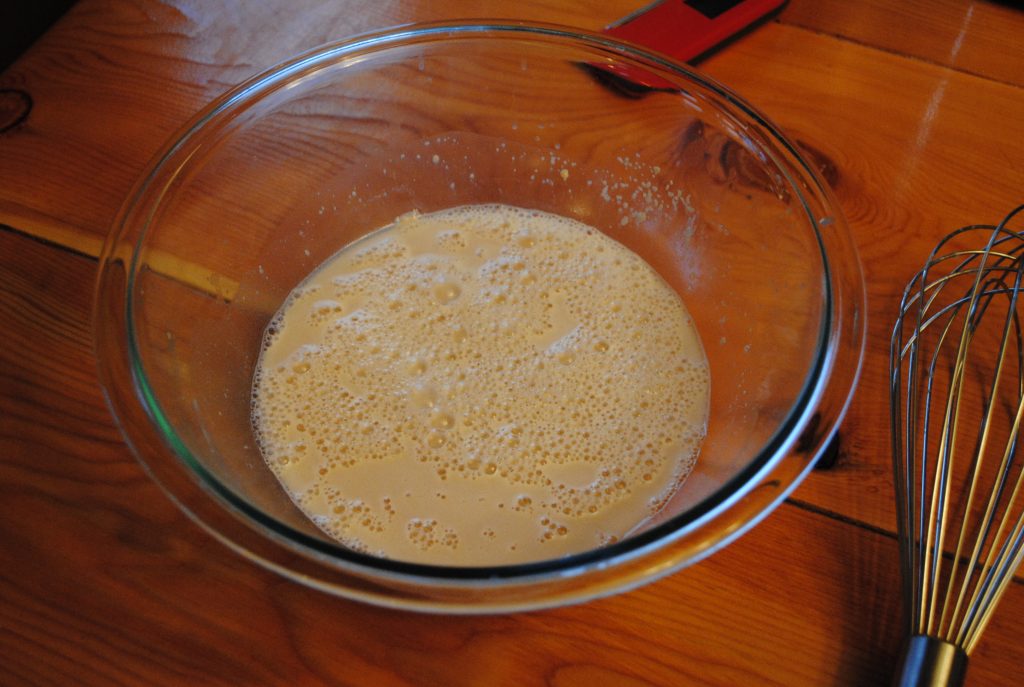
Now let this mixture ‘proof’ (allowing the yeast to prove it’s worth) and foam for about 5 minutes.
Next, drizzle in 4 TBSP olive oil.

To this mixture add 3 3/4 C flour. (Be sure to aerate your flour before measuring it. Adding too much flour by mis-measuring will lead to problems in all baked goods. Fluff your flour before scooping it out of your bin/bag/canister.)
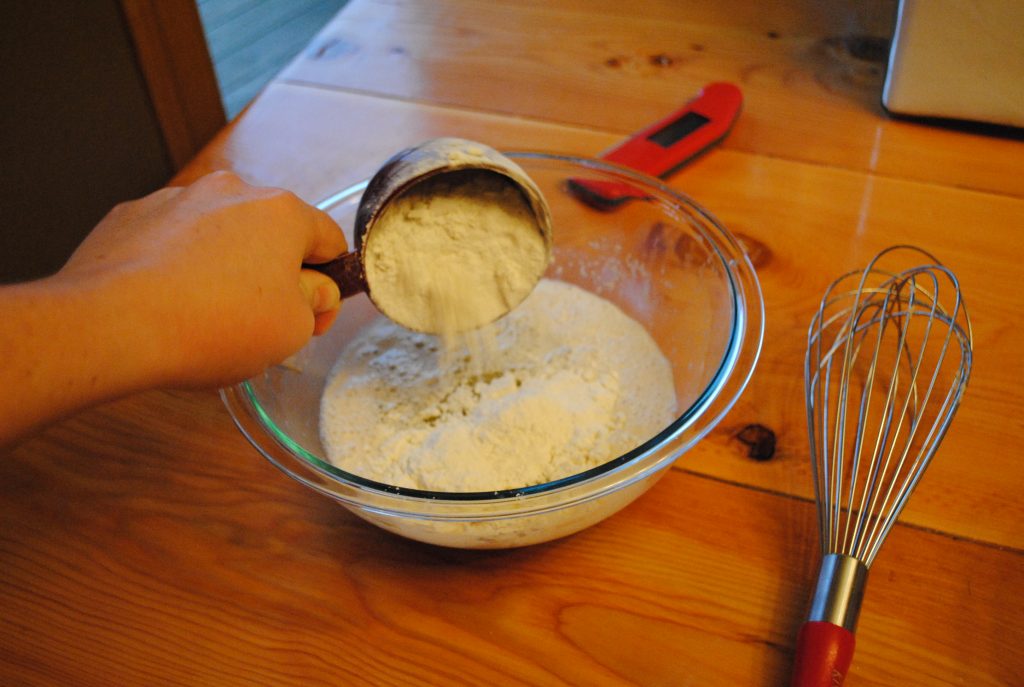
Lastly, before you mix you must add SALT! My Grandma taught me to measure my salt into my palm when baking breads because then you will remember if you added it or not. If you’ve taken my breads class you will know, this is IMPORTANT. Salt inhibits yeast growth, that’s why we don’t mix it into the dough earlier. It must be in the dough for flavor as well. If you didn’t have salt you’d have bread loaves spilling forth from their containers, weak with no structure and flavorless bread. Don’t ever forget salt! Ok, 2 tsp in your palm. Ready, set, go.

Now the fun part! Mix this dough together with a nice spatula. Stir until a shaggy mass forms.
Like this:

Now, the hard part. Let this dough ‘rest’ to continue to absorb some of the moisture in the recipe. If you were to knead it now, you’d think there was too much moisture so you’d add more flour. NO! That will make your dough lack flavor and extensibility when you are making your pizza crust. We don’t want rock hard flavorless flour laden crust. Trust me. Walk away for 5 minutes.
During this time you could assemble your ingredients… Okay? Here I have a menagerie of things to try, my favorite pizza of the night was actually an olive oil basted cheese and sautéed shallot pizza. I never opened the fig jam I was going to make the prosciutto-fig pizza with asiago and arugula topping. I’ll post a recipe soon… I promise. The kids and my Dad love the plain pizza toppings, my Mom, husband and I love the interesting toppings. I try to make something for everyone.

Now that your 5 minute wait is up… let’s get to kneading that dough. Stir the mixture a few times…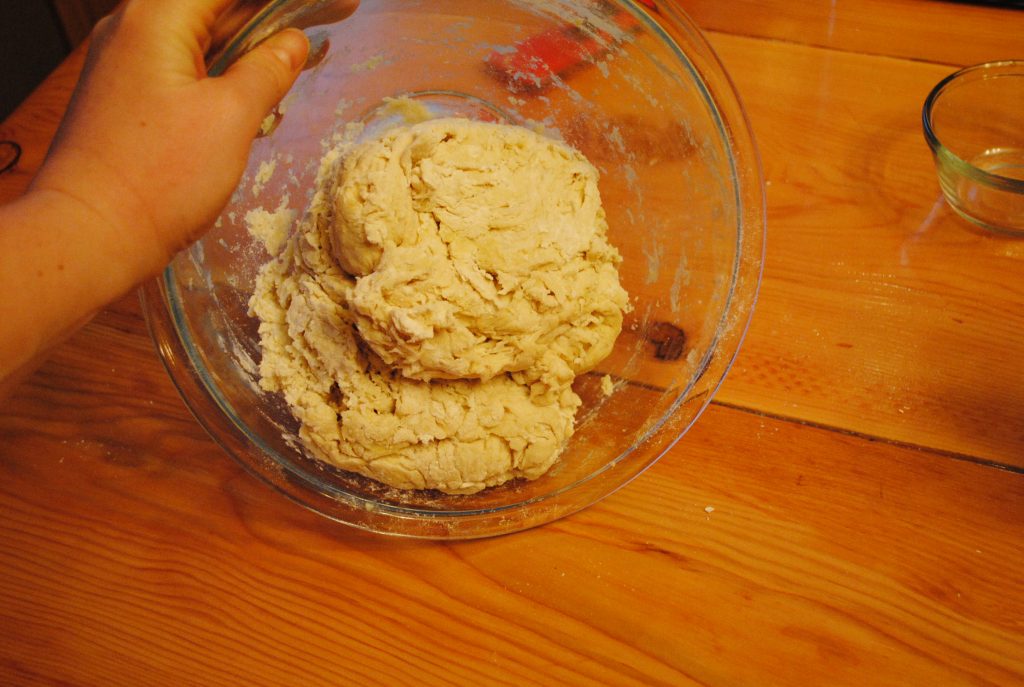
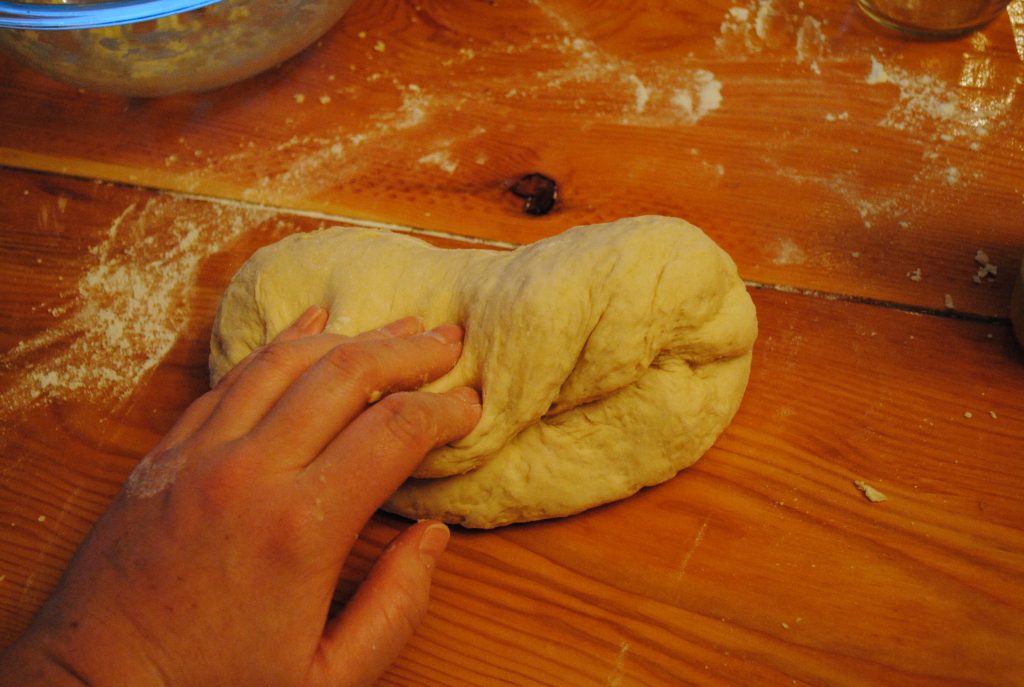
Then tip it out onto your workspace. Have your flour nearby, but no need for it at this point. We don’t want to add any until we absolutely need to. Here’s the dough prior to any kneading…
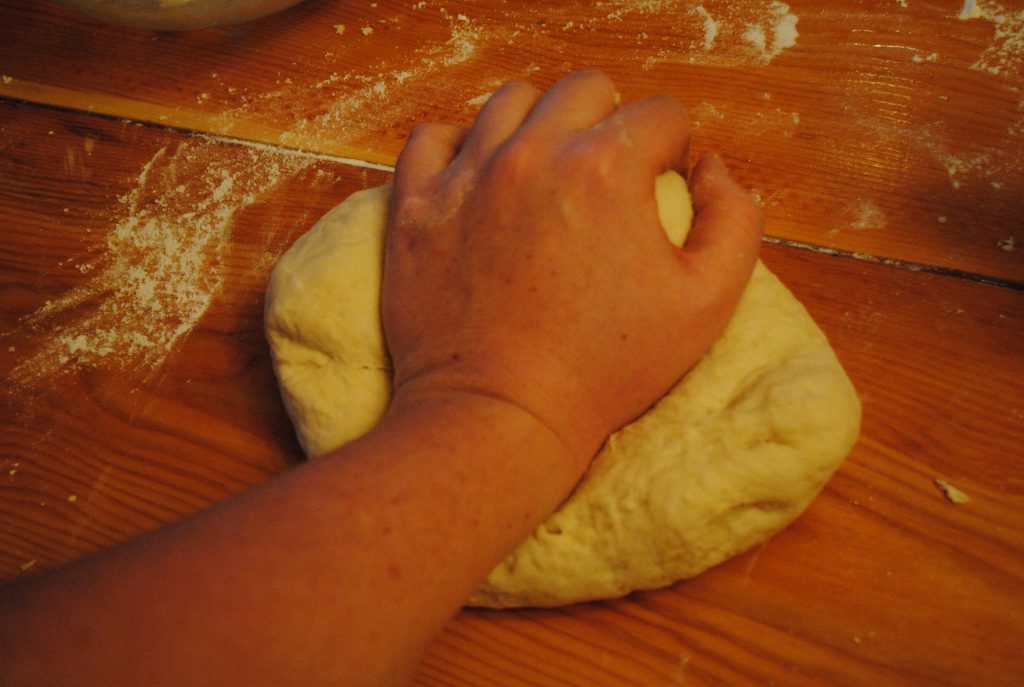
Now it is time to pull up those sleeves and knead that dough like your ‘fore-mothers’ did! You’ll be kneading for 10 minutes or so. Get busy.
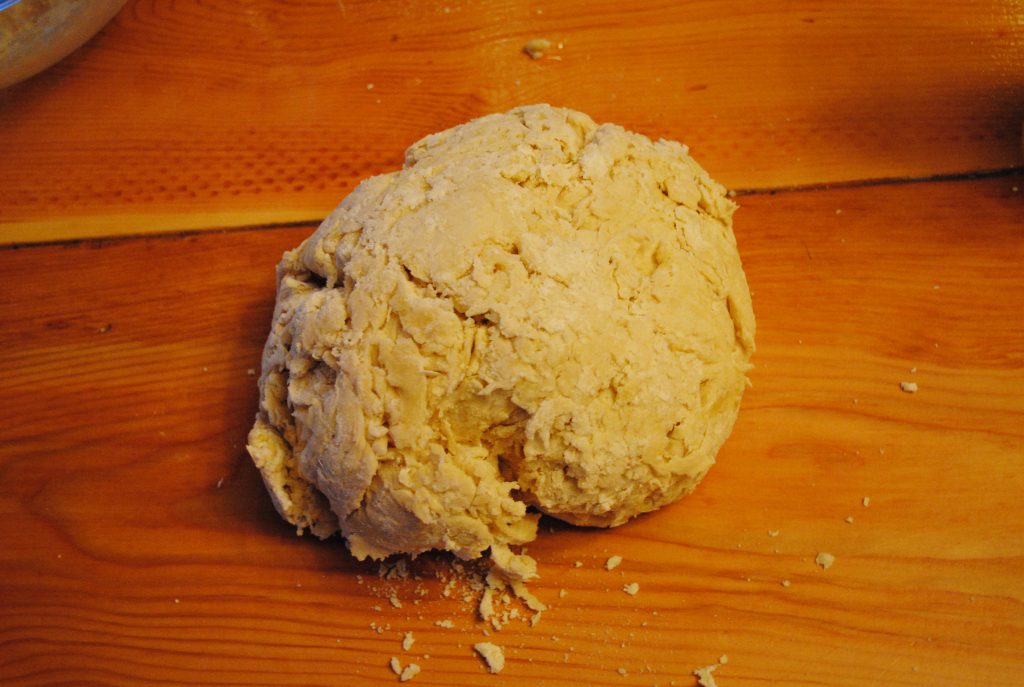
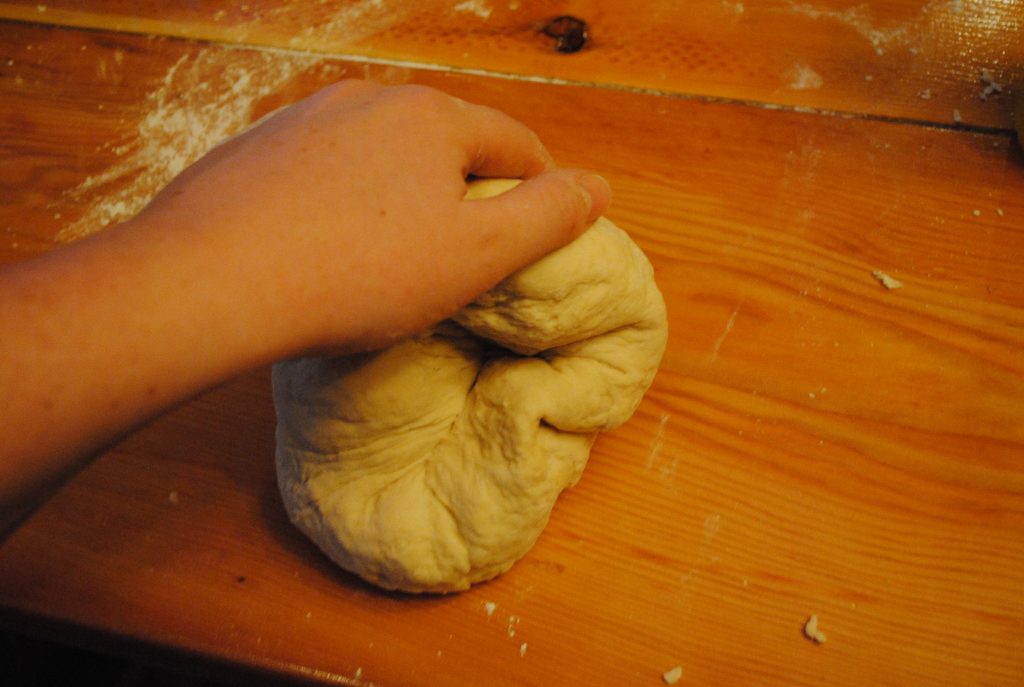
Here’s a picture of my dough after 1 minute of kneading.

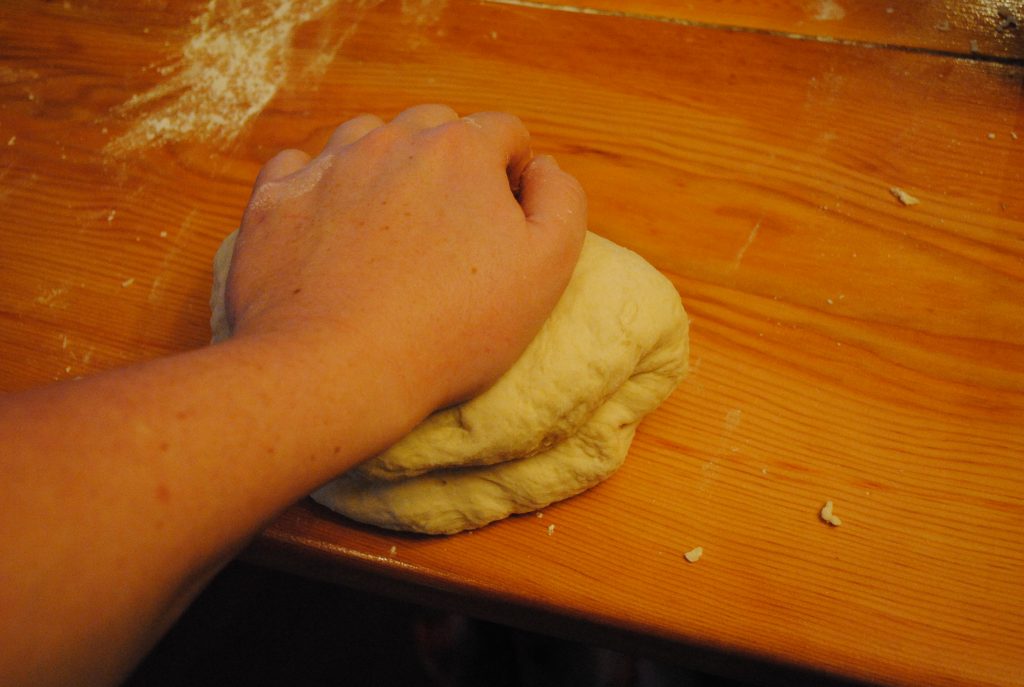
Here are a few pictures of the kneading process. Don’t mind my large hands, as a teen I used to be so aware of their size, now I appreciate how useful they are! The goal of kneading is to push the dough out, fold it and give it a quarter of a turn so you can develop the strands of gluten in different directions.
Like this…

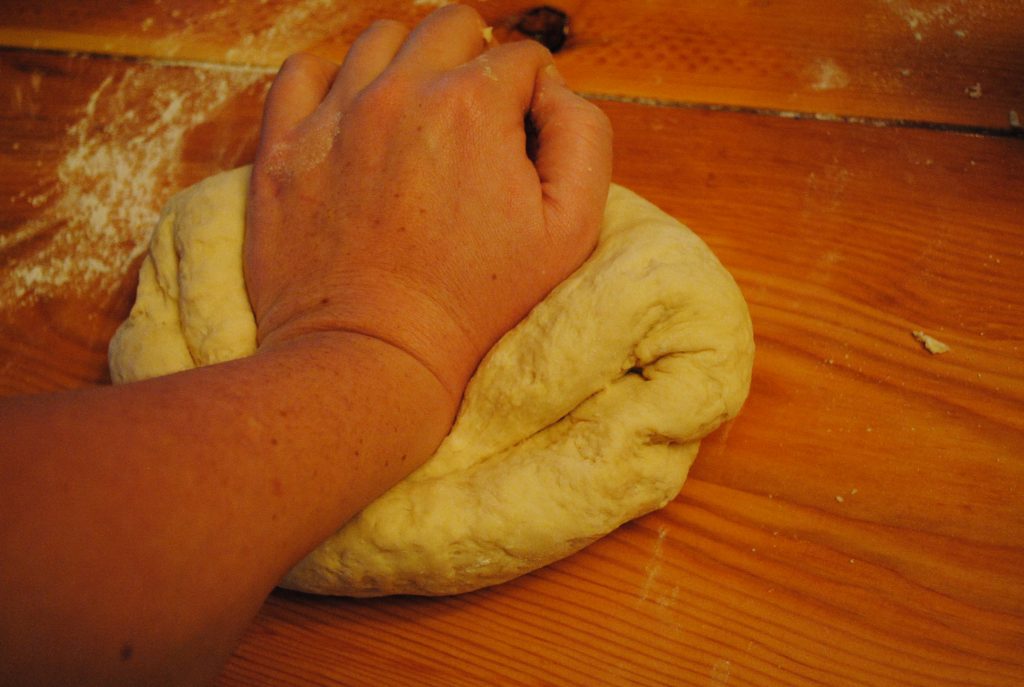
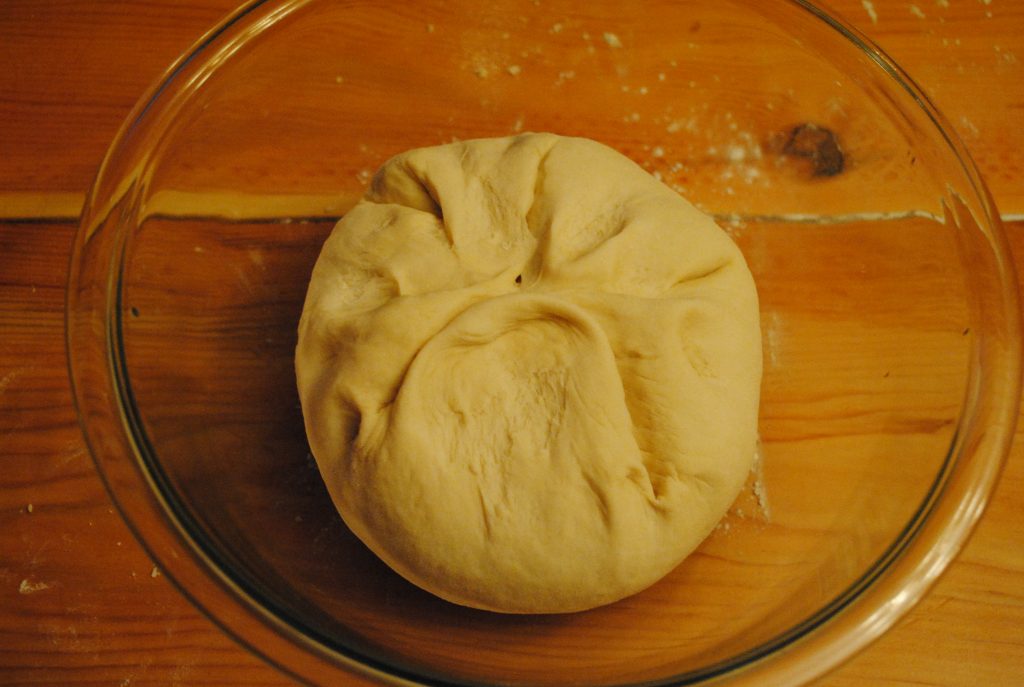
After 10 minutes of devoted kneading your dough should look like this:

Now, clean, dry and add olive oil to that glass bowl you were using earlier.

Place your dough in the bowl, upside down.
Flip the dough over so the top is glistening with oil.

Cover with plastic wrap…

And place in an area where it is warm, like your preheating oven’s stove top! If you are baking soon, preheat your oven to 450. I love convection for this because the dry air promotes a nice crisp crust.
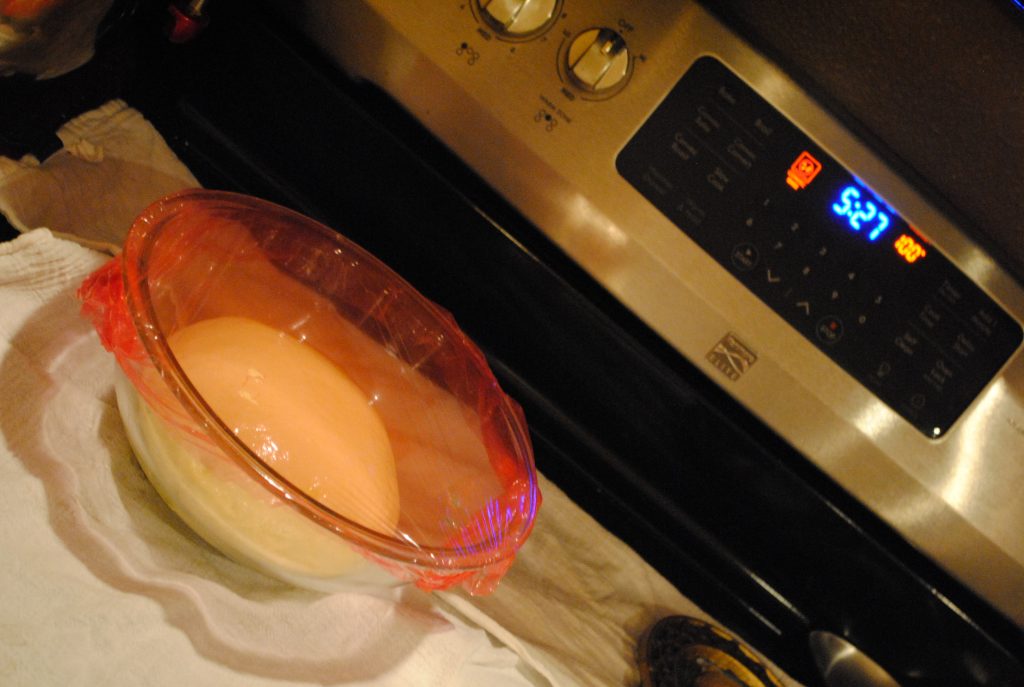
When you see that your dough has doubled in size, punch it down. Let it rest 5 minutes to relax the gluten so you don’t have spastic dough that keeps shrinking every time you roll it out!

(This is where the helpful photos stop, thank you to my daughter who hid my camera).
Roll your dough out to the desired thinness. (It will double in size during baking so roll accordingly.)
Dock with a fork, meaning depress a fork (tines down) into the crust (making tiny holes all over) so it will not bubble up in the oven.
Bake crusts at 450 degrees for 8-12 minutes depending on size and thickness.
Top with desired toppings.
Continue to bake until toppings are warm and cheeses are lightly golden, anywhere from 10-20 minutes.
*You can refrigerate this dough for up to 2 days, it will continue to develop flavor. As for freezing… I don’t do it, but you can certainly wrap this dough up very well in plastic and then foil. Refrigerate up to 1 month (some people say 2-3 but I just can’t). Remove, thaw at room temperature (may take up to 4-6 hours) and proceed as usual.
Enjoy!
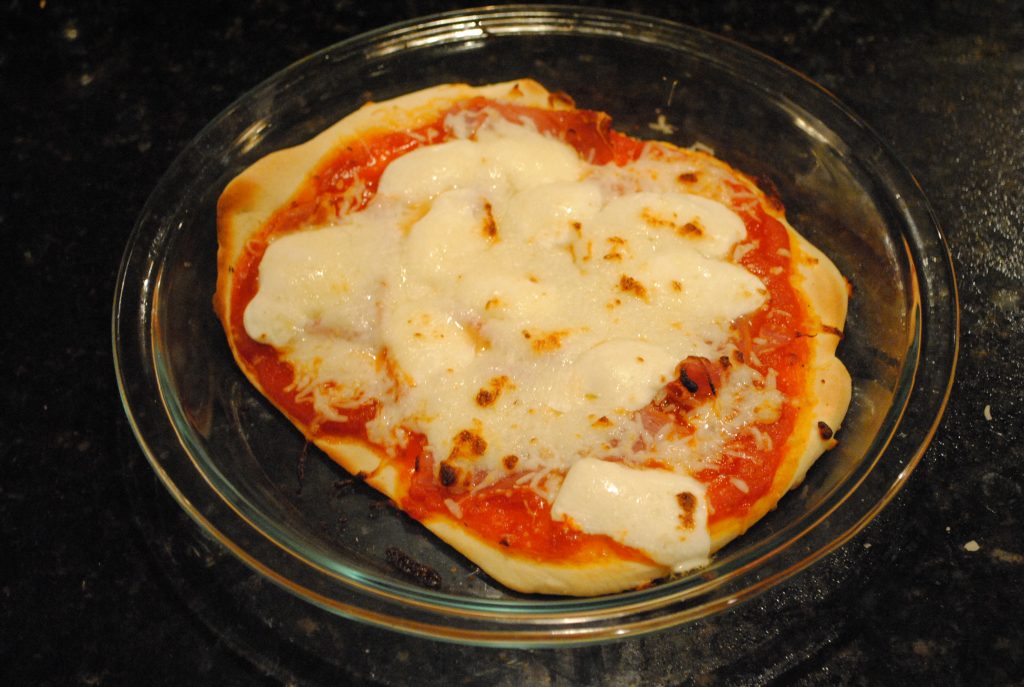
Found camera: Here’s a picture of my daughter’s pizza. (Prosciutto, mozzarella, tomato sauce)

Done!
6 Comments
Looks good…can you freeze this dough and if so, can you give instructions for the process of using after freezing..such as, how long can it be frozen, how long to thaw out..etc Thanks!
Updated to accommodate your questions Barb! I usually don’t freeze dough but it is definitely possible! The portioning of the dough prior to freezing will help your thawing time. Good luck!
I’m so excited to try this recipe, especially after going back to reread and realizing that I can make the dough ahead of time and pull out for dinner on those busy nights of baseball.
I love that about mostly any bread recipe. You can refrigerate after the first rise and come back and finish the recipe later. So glad you’re following! XOXO Cristen
No food processor?
You can certainly use a food processor if you’d like! I can’t tax my food processor like that, its a smaller one from the 70’s (My Mom’s wedding gift!) :)