When I started baking, yeast loaves were high on my to-do list. I had no clue on how to shape them or what made a nice standard loaf of bread. Today I didn’t want to go to the store for milk and bread so my husband is picking up OVERpriced milk at the gas station and I am baking a couple of loaves of bread to have and freeze. Here’s what I’m making, it is a great recipe for a down to earth ‘wheat bread’, I also add a little oatmeal for some added texture. It has great flavor and makes an awesome loaf to slice for sandwiches. I use a combination of all purpose and ‘white whole wheat’ flours so the structure is great and not as dense as a traditional loaf using all whole wheat flour. I love this bread the most just toasted and buttered slightly. Enjoy!
Step by step photos with complete recipe at the end of the post.
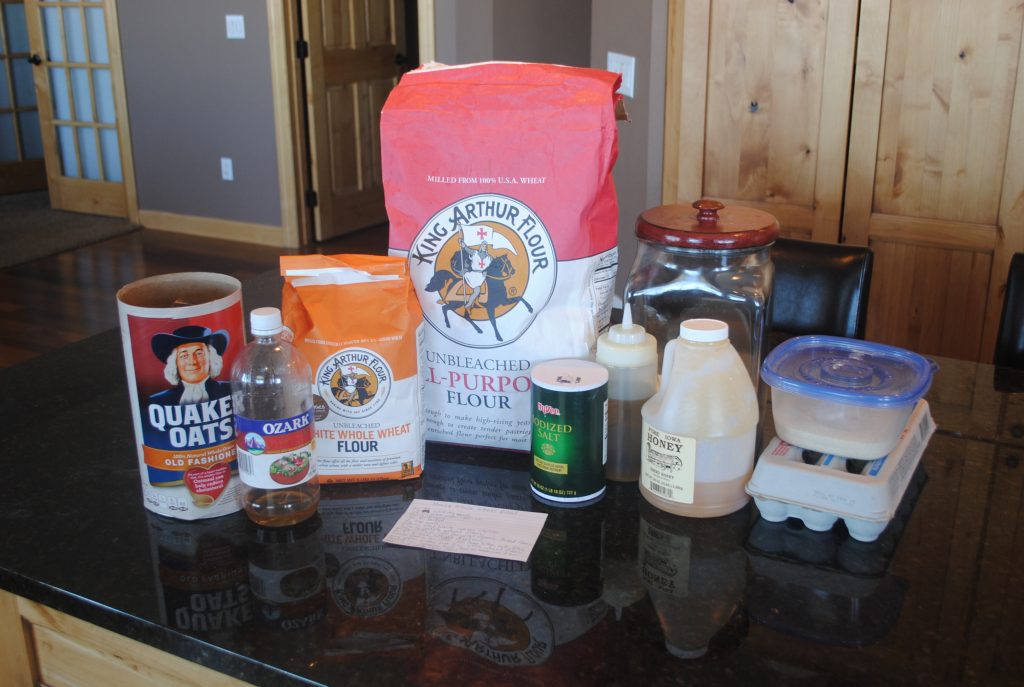
Assemble your ingredients.
Get 1/2 C warm (think warm as in water you’d bathe a baby in) water

Measure out 4 1/2 tsp of instant or active dry yeast. (See the cup I’m using? It is a measuring cup from our kid’s medications. Well washed of course and it is the perfect size. Nearly all the way full is 4 1/2 tsp. Sweet.)

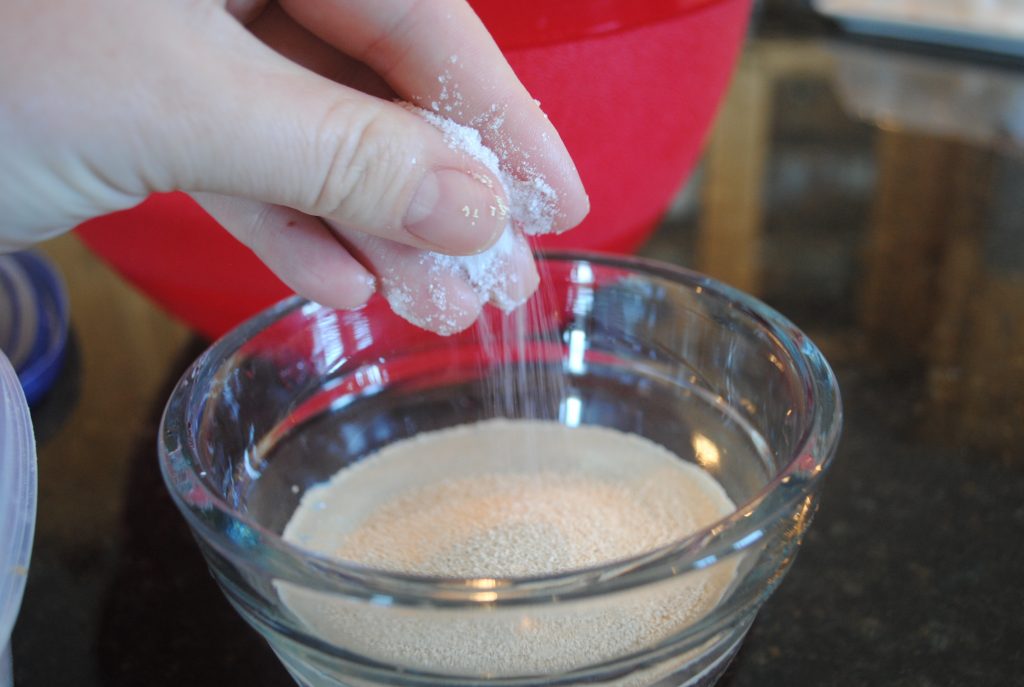
Dump the yeast into the warm water.

Add a pinch of sugar.
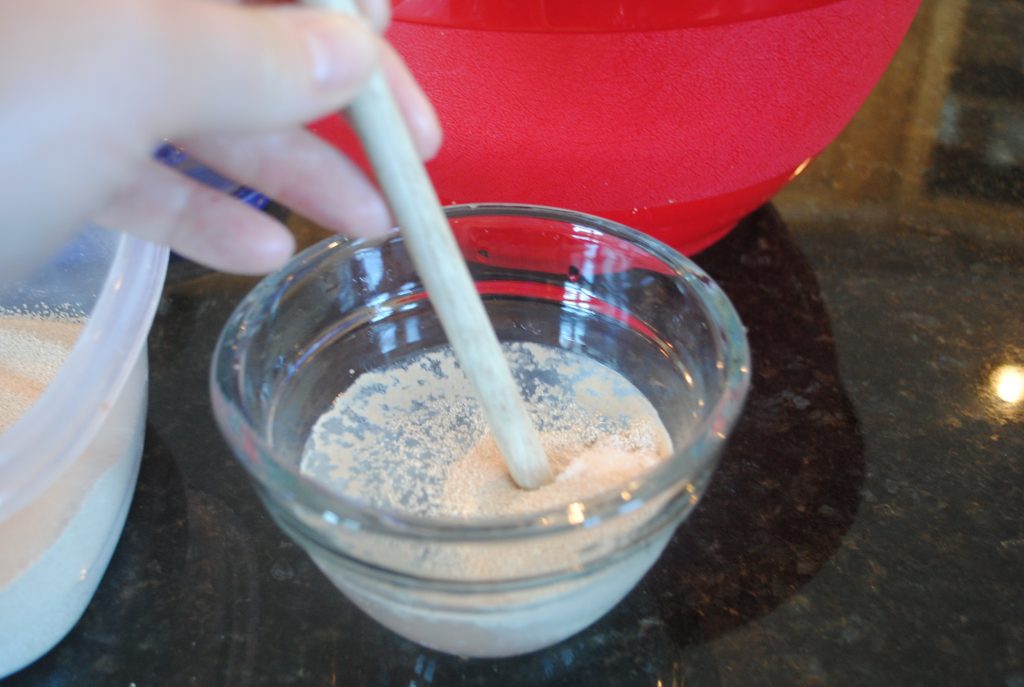
Stir well to combine with the handle of a wooden spoon, your fingers… get to it.
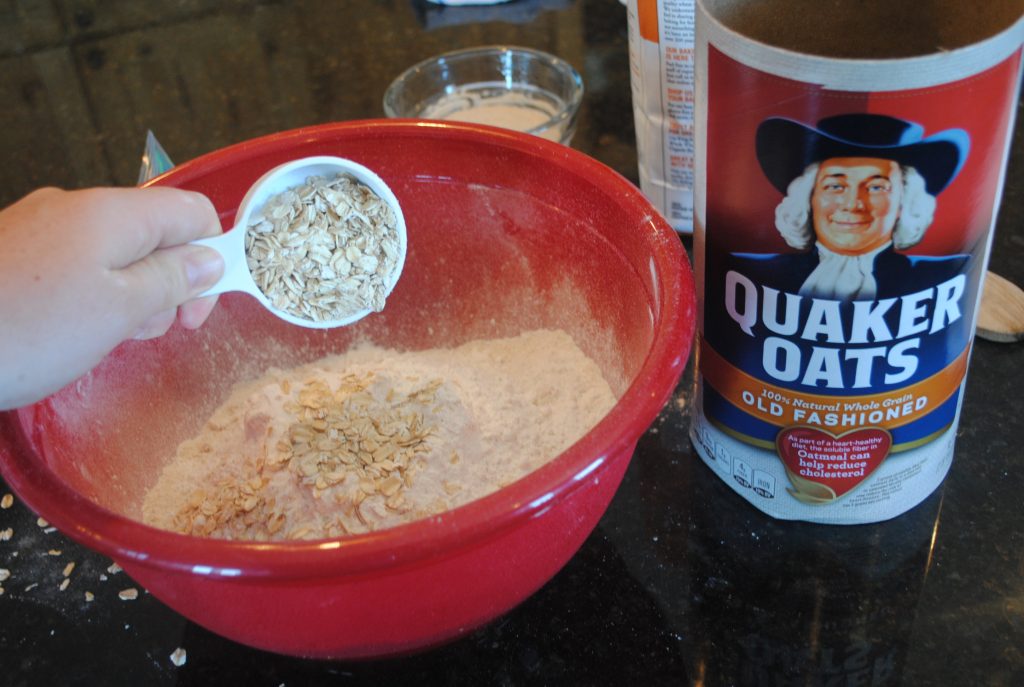
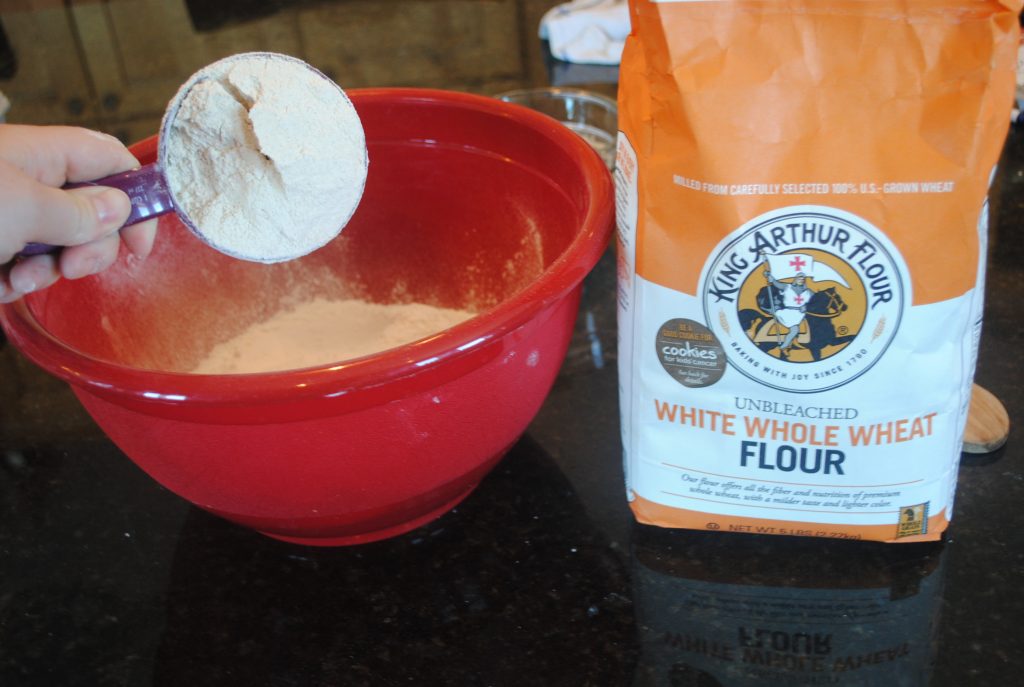
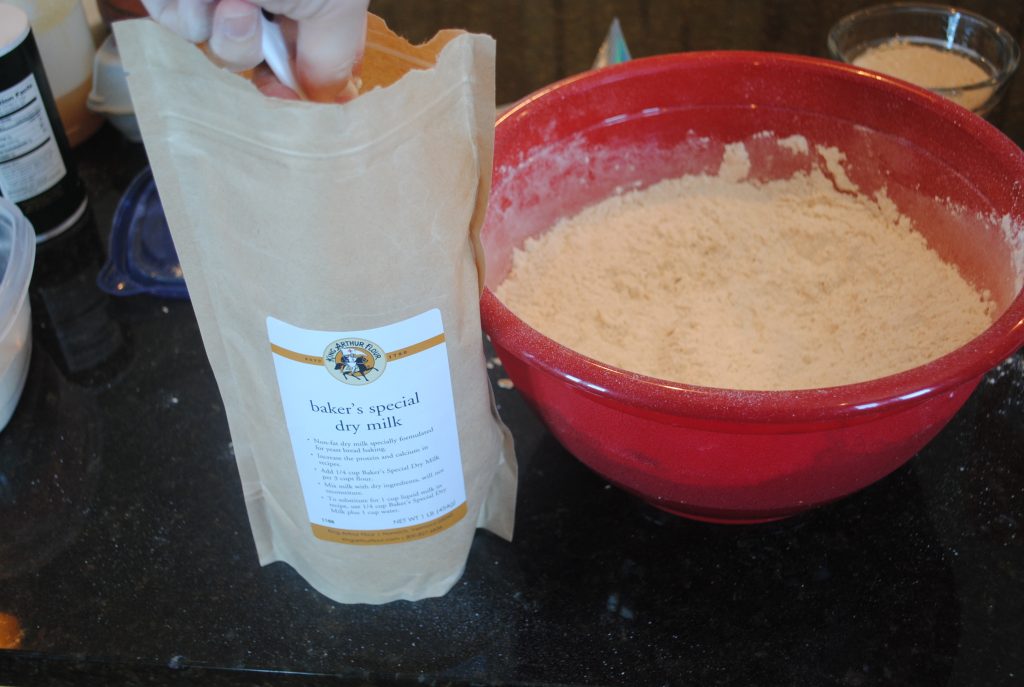
Now add your dry ingredients: flours, oatmeal and salt (measure in the palm of your hand) and nonfat dry milk if you are using any. (I know the next 4 steps are somewhat out of order… but if you get them all in, you’ll be okay!)

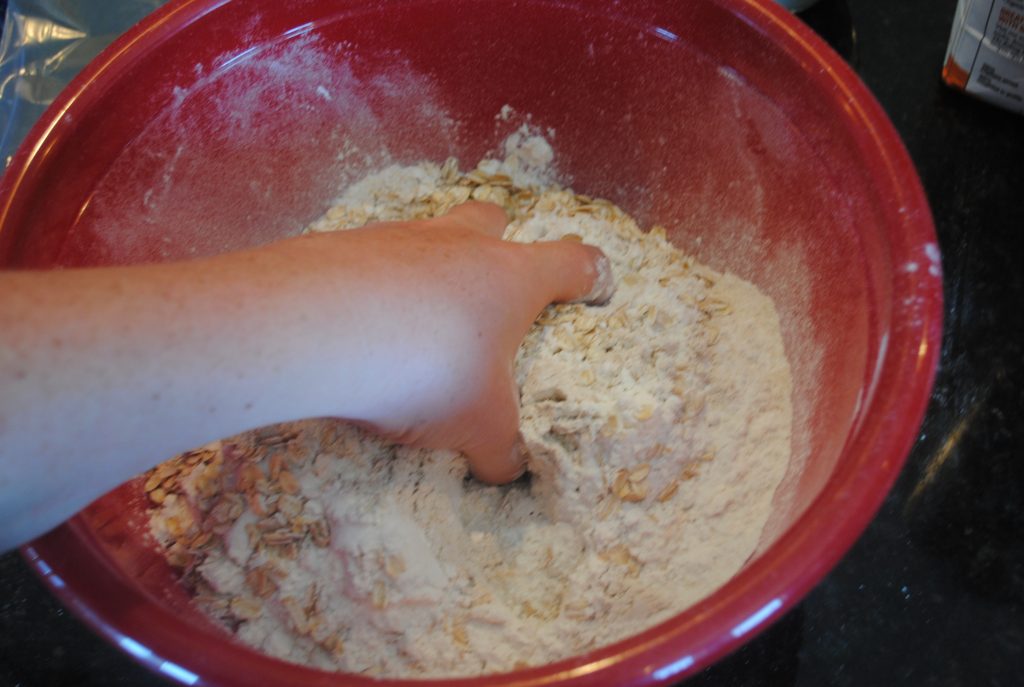
Regular rolled oats… you don’t have to use these. The recipe will work just fine without. 2/3 C you’ll need here.
Salt… measure it into your hand. 2 teaspoons.

This is the whole wheat flour I use. It is lighter than a traditional whole wheat flour, trust me… you’ll see.
Nonfat dry milk… this helps your bread become light and fluffy and gives loaves an extra lift! Baker’s Special Dry Milk is ultra-fine compared to traditional grocery nonfat dry milk.
Now mix up those dry ingredients and set them aside.
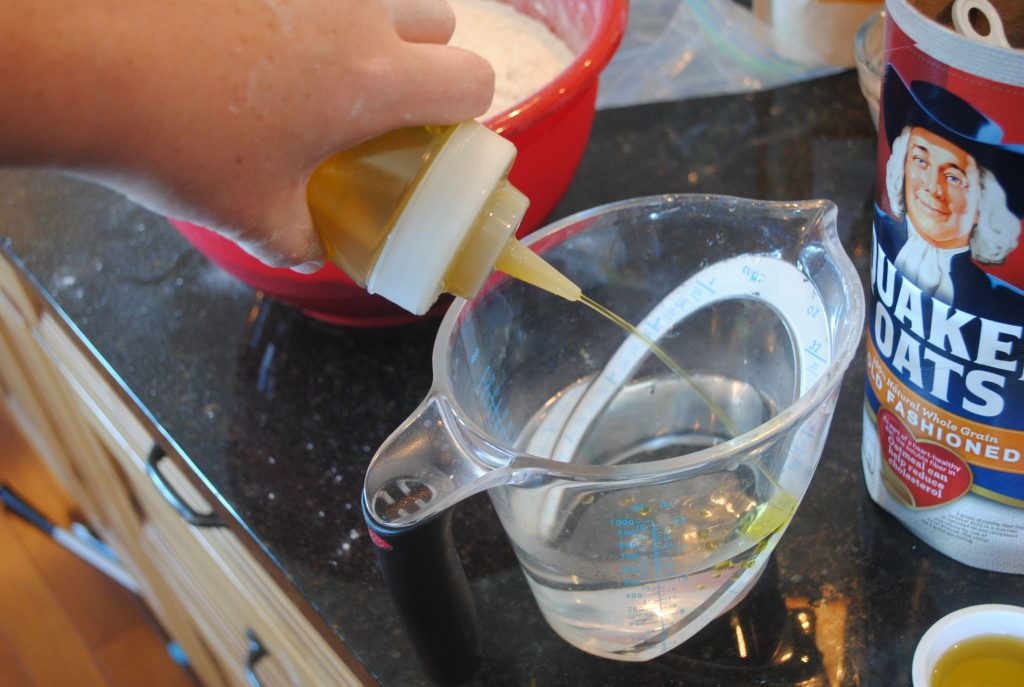
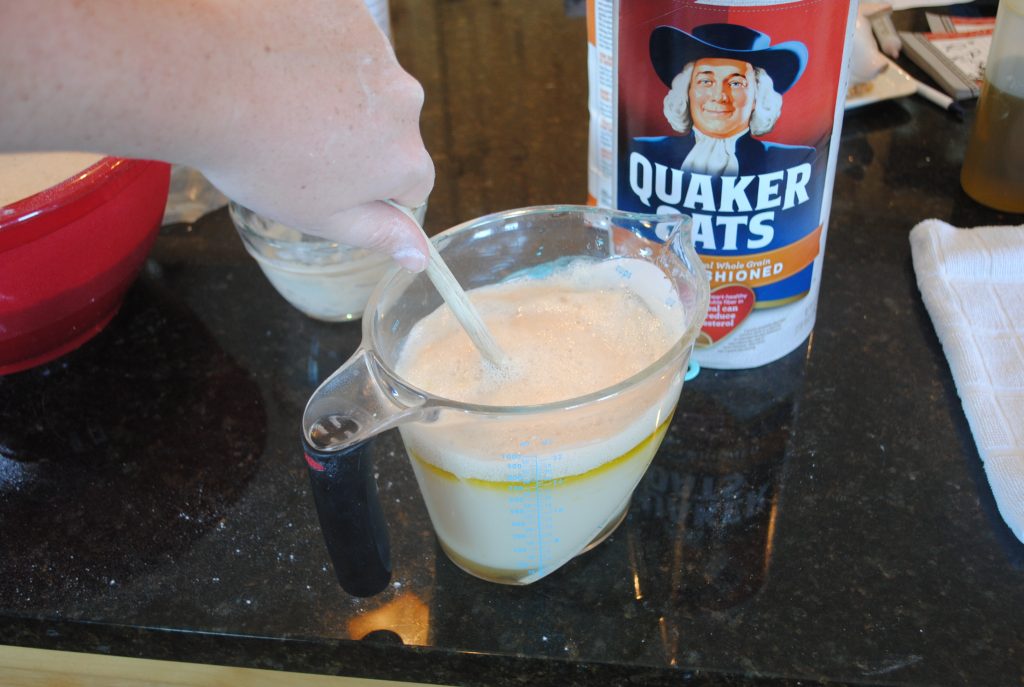
Now measure 2 C of warm water into a mixing bowl. (remember, not too hot or else you will kill your yeast!)

Add 1/4 C olive or other oil, by measuring with a cup or just squirting it right on in! (You can see in the bottom right of the picture I couldn’t decide which to photograph.)
Measure out 1/3 C honey and pour it into the water/oil mixture.

Then check on your growing yeast. If it looks like this, you’re ready to use it. It has ‘proven’ itself by growing and you know it will leaven your bread appropriately.
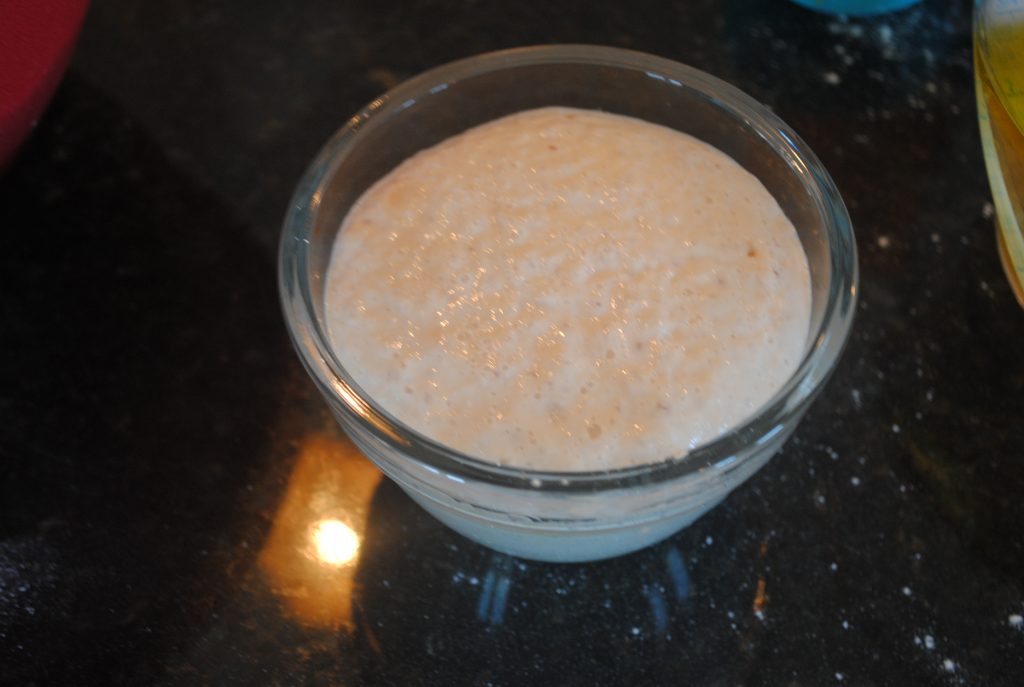
Next, dump it into the wet ingredient mixture.

Stir well.
And all at once, pour the wet ingredients over the dry ingredients.

And stir for 1 minute or so.
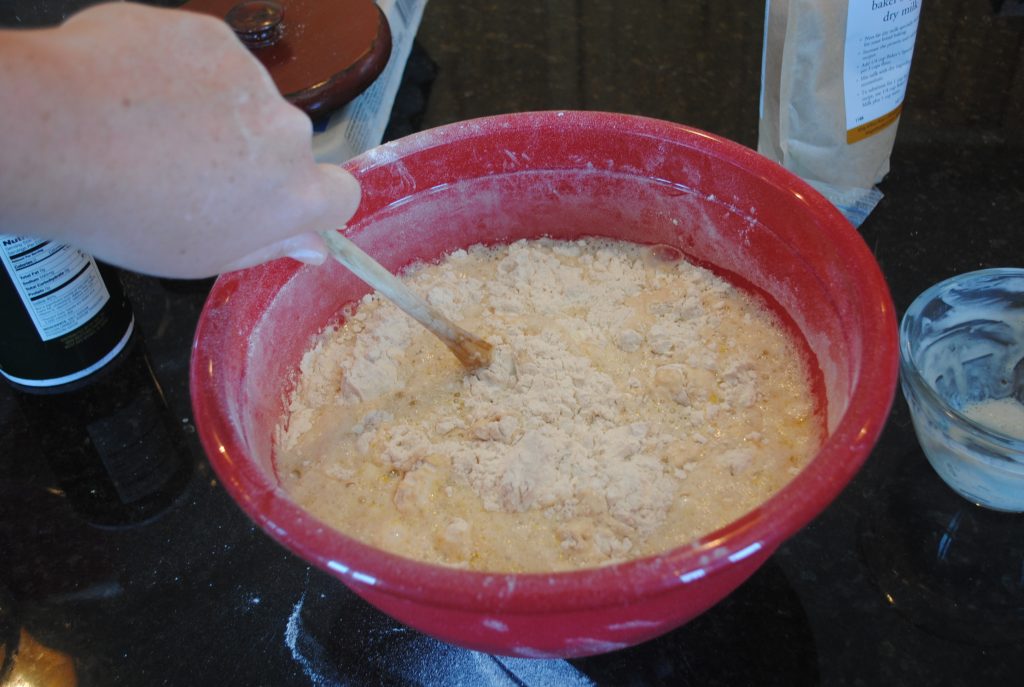
The mixture will look like this after about 1 minute of stirring.
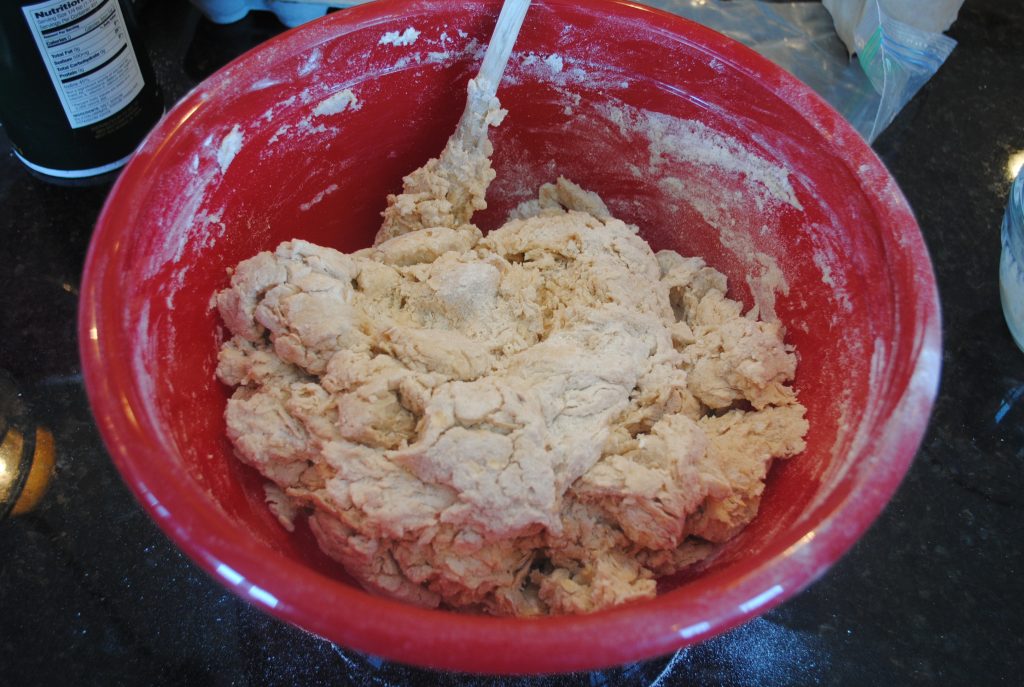
Now… onto a clean work surface, dump the dough out.
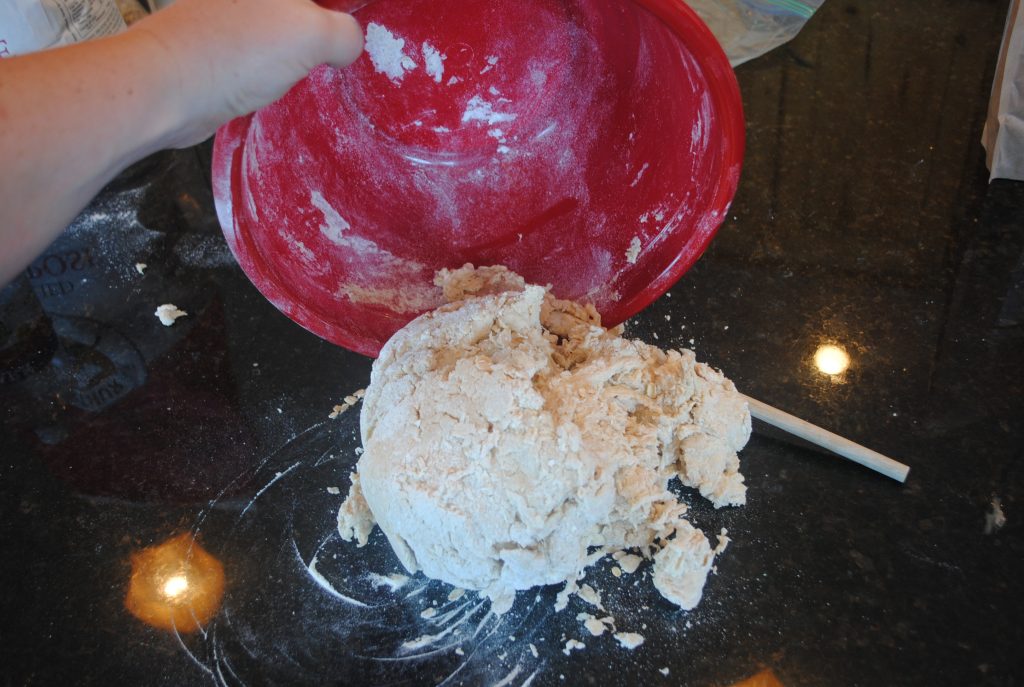
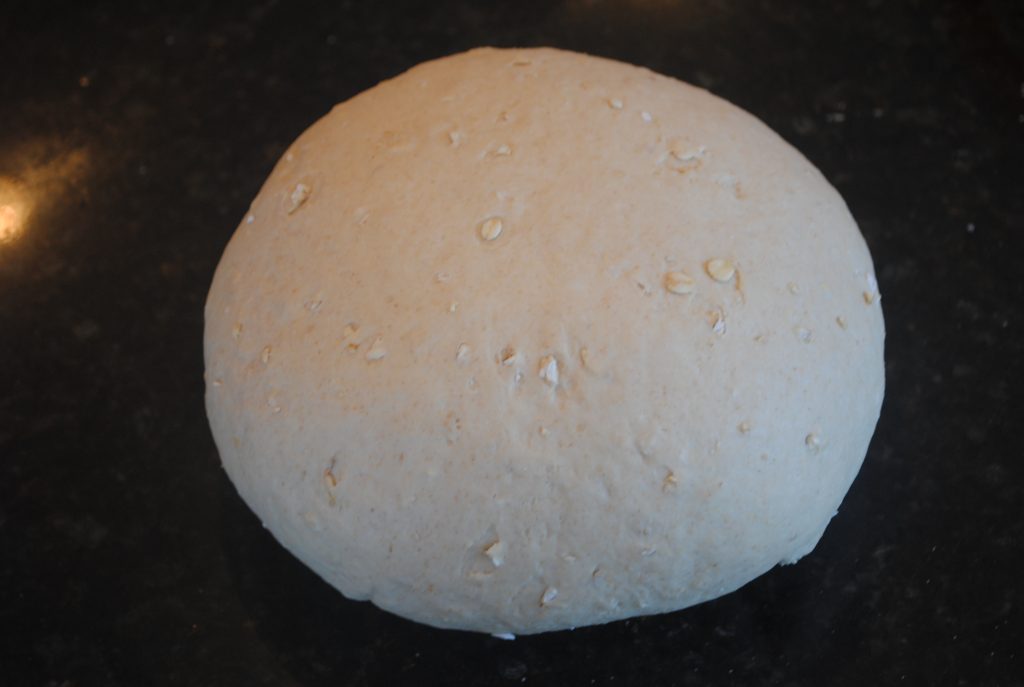
Knead for 30 seconds or so until it comes together in a ball. Looks like this:

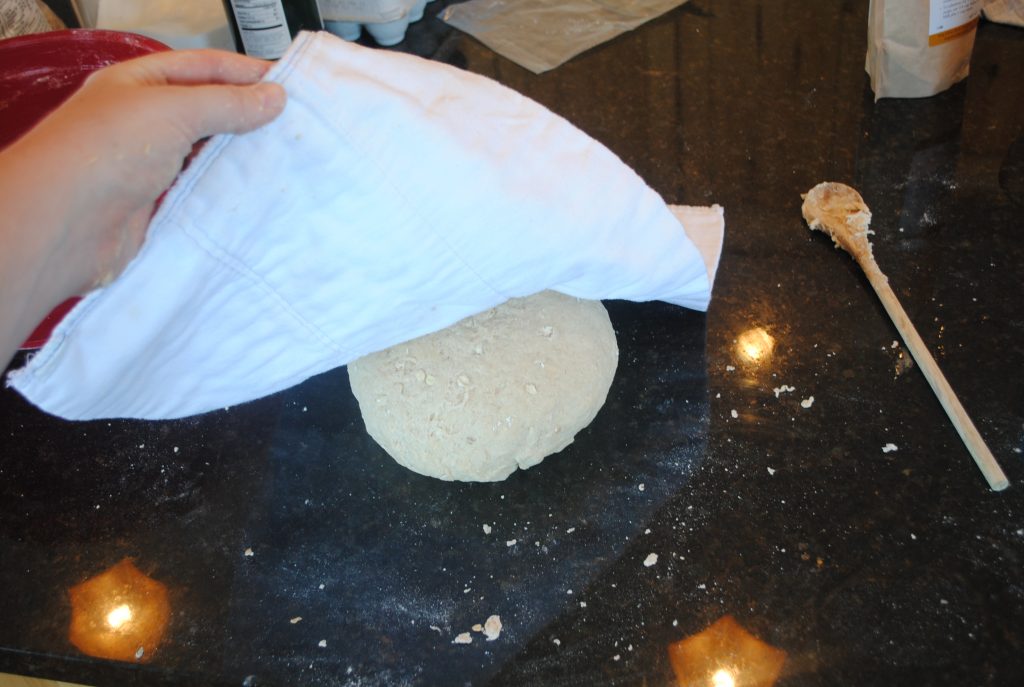
Now comes the hard part. Cover with a tea towel and walk away for 5 minutes. This will give the flour time to absorb the water and you won’t end up over-flouring your work space and getting too much flour in the bread. This resting time (albeit short) is fancily called “autolyse” by people much more qualified to bake than me. It is best for the dough at this moment, especially doughs containing whole wheat flours such as this. This resting time can be anywhere from 5-20 minutes or so if you have time.
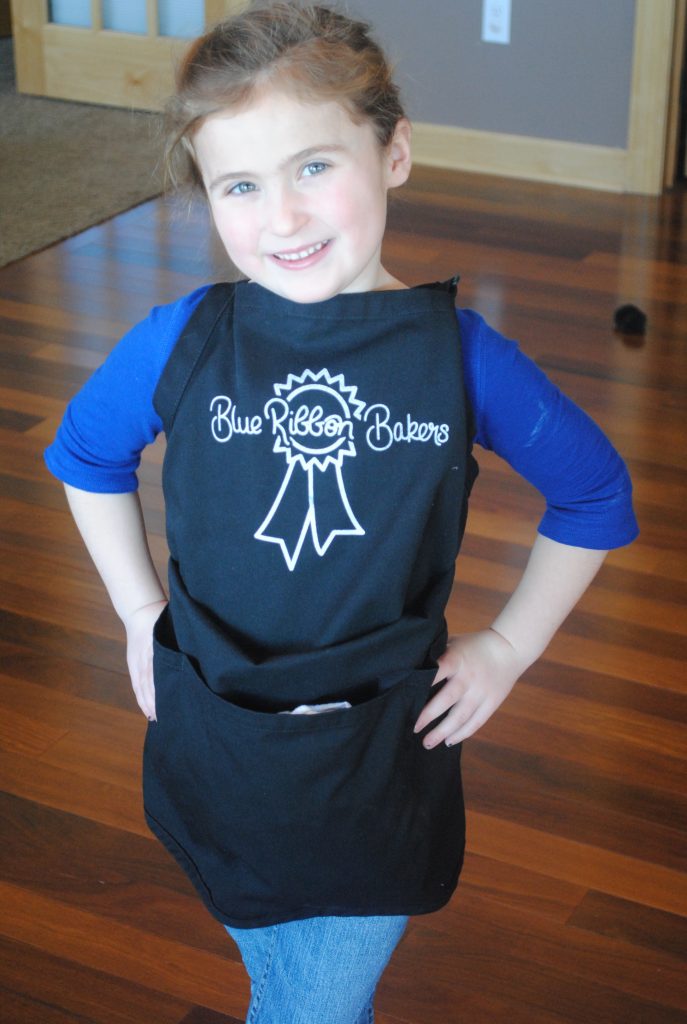
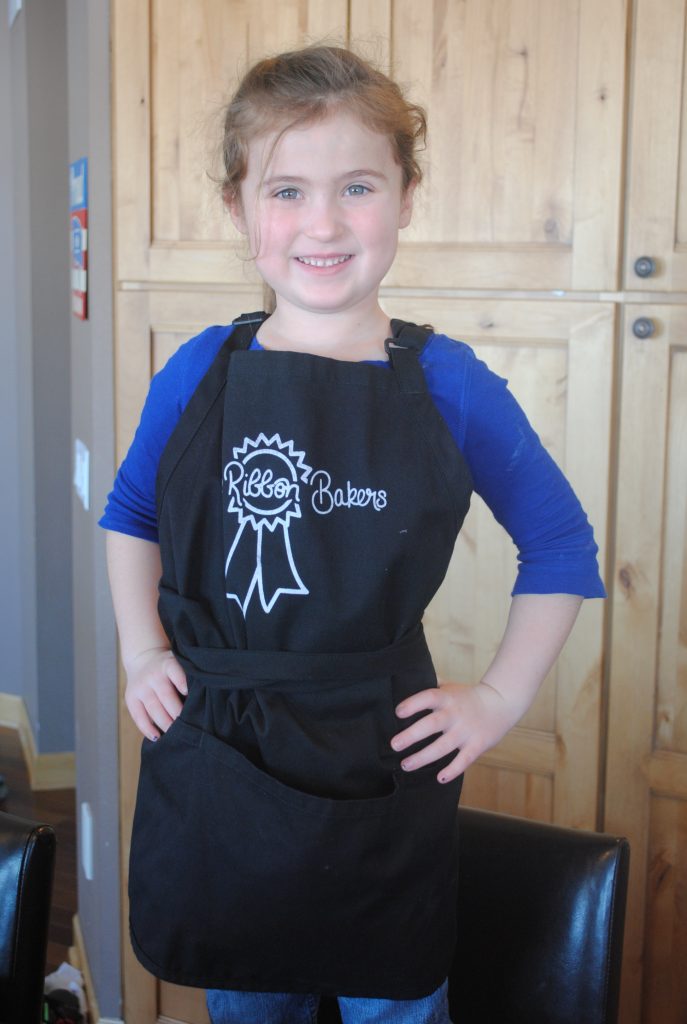
Now, after the rest period… come back and find a buddy. Grab her an apron and put it on as best as you can.
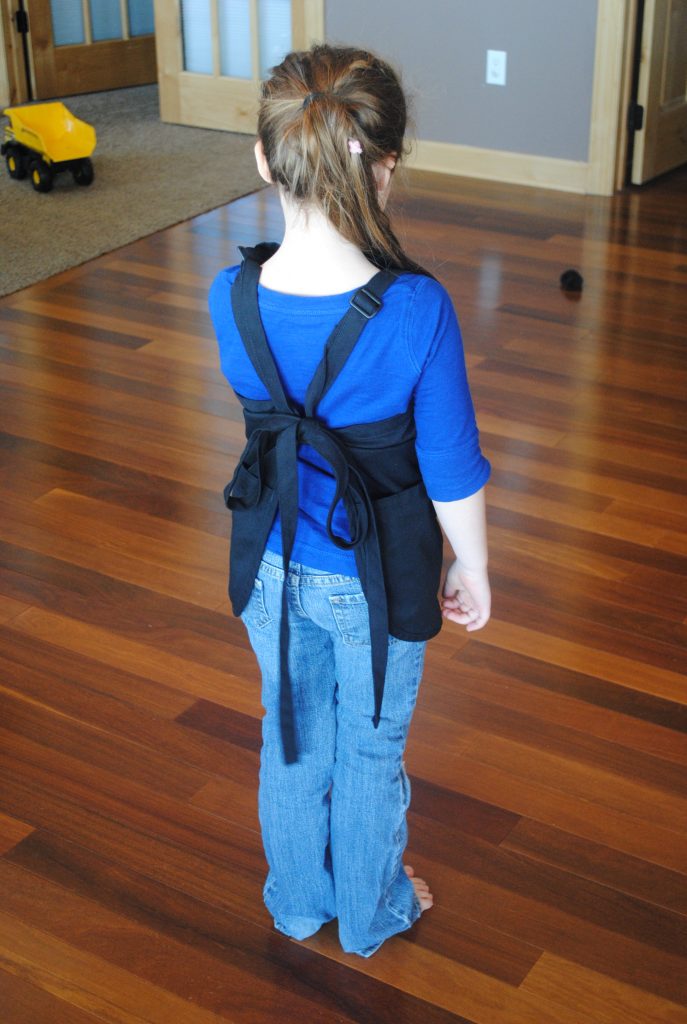
My best helper.
Fix the fit of the apron so it is not cutting of the passage of air to your helpers lungs.
And put the helper to work kneading the bread dough for 10 minutes. You may need to help out.
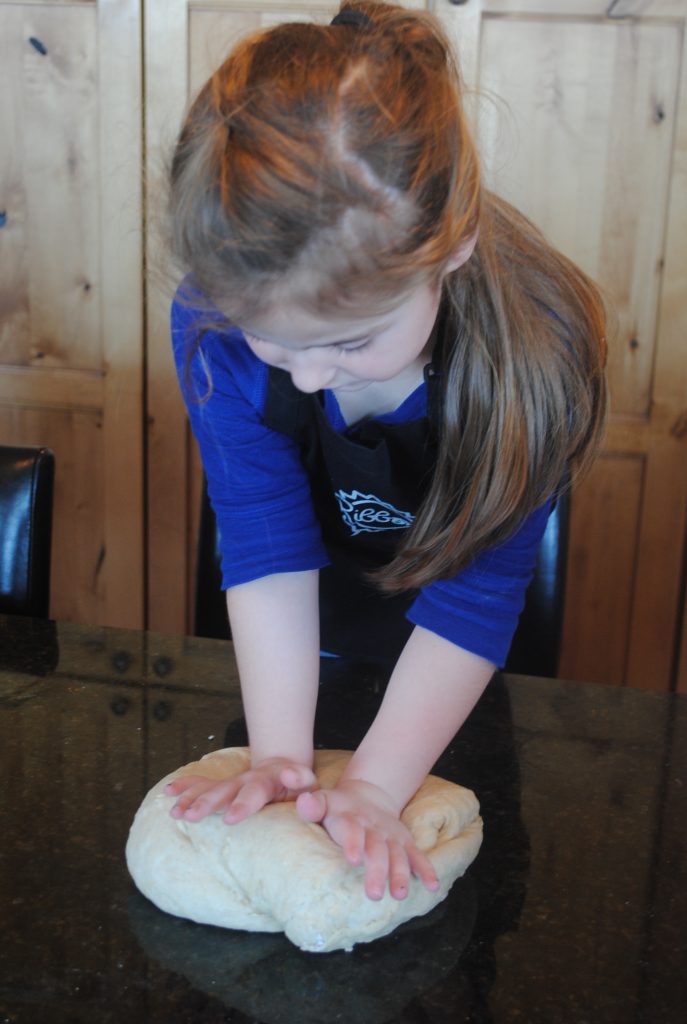
Push out, pull back, 1/4 turn, repeat.

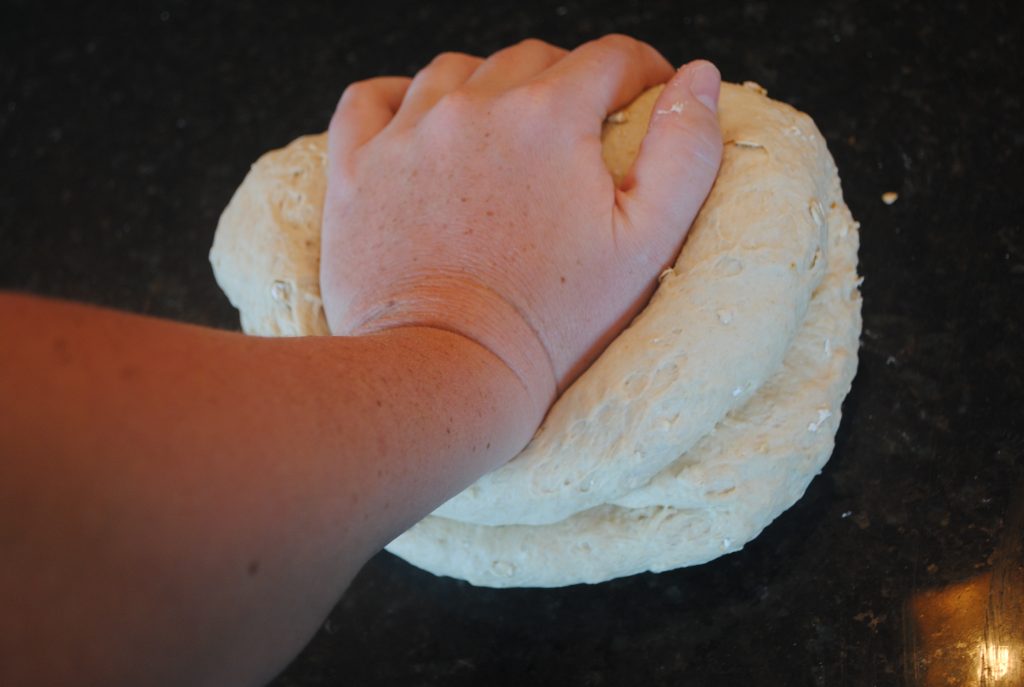
Once you’ve kneaded your dough and it becomes soft and elastic and looks like this:
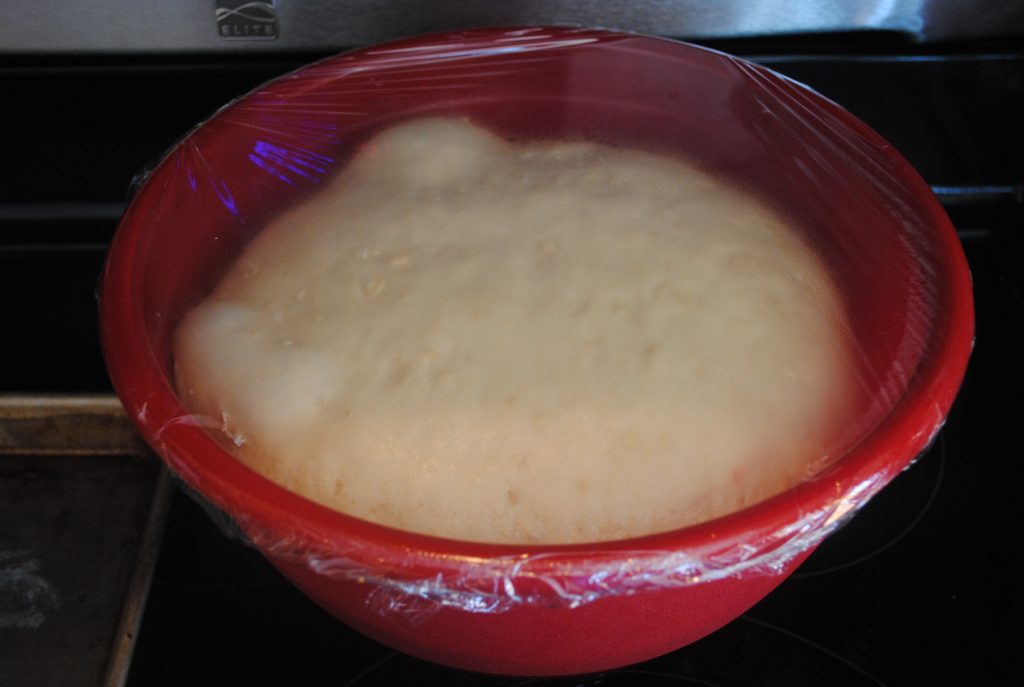
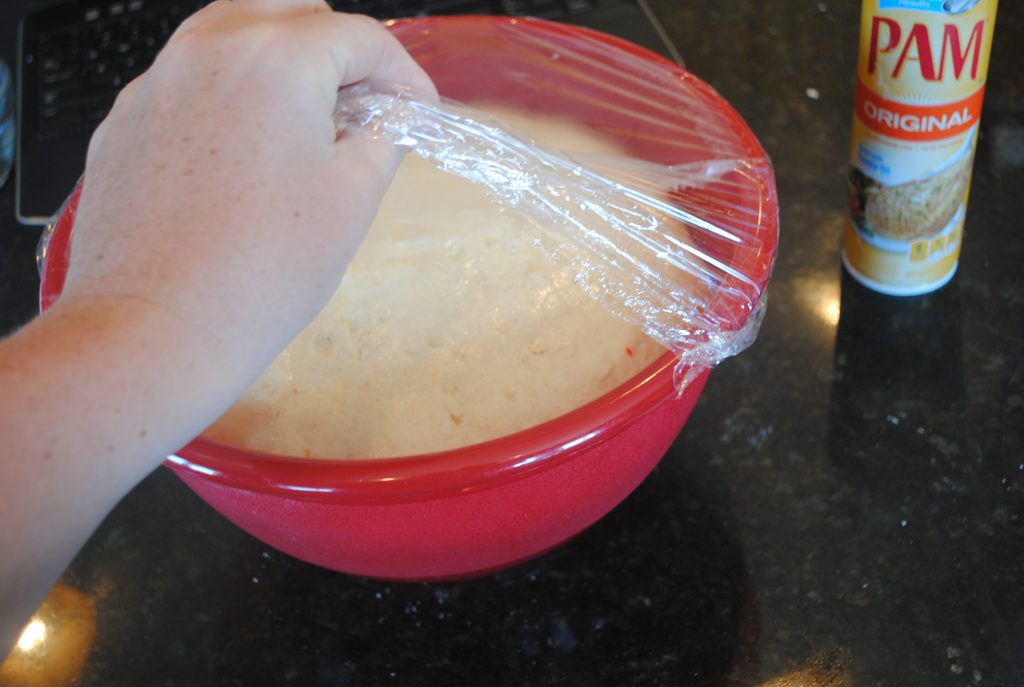
Put it in a greased bowl, (I use cooking spray), oil the top and cover with plastic wrap. Place it somewhere warm.

When the dough has doubled in bulk, (not necessary to have the super-bubbles in there). You’re ready to shape.
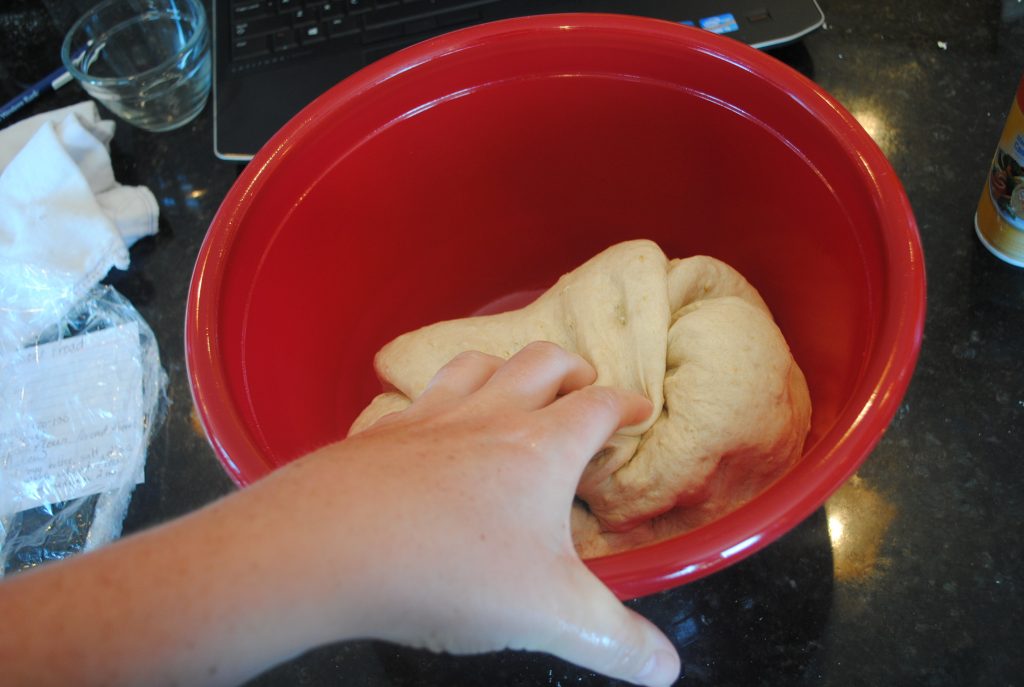
Uncover it… of course.
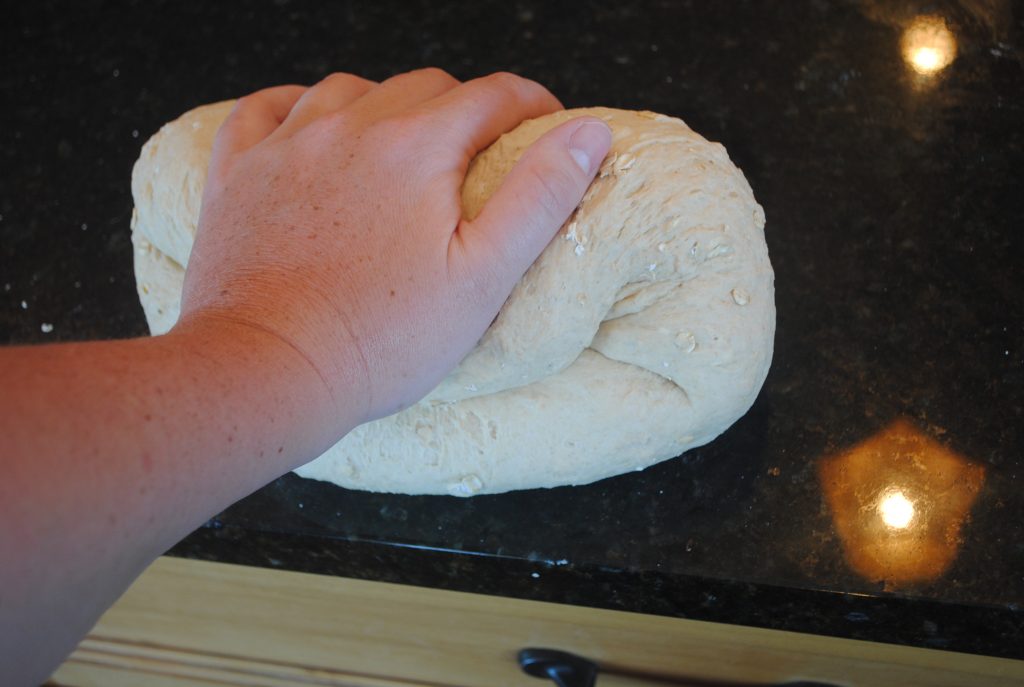
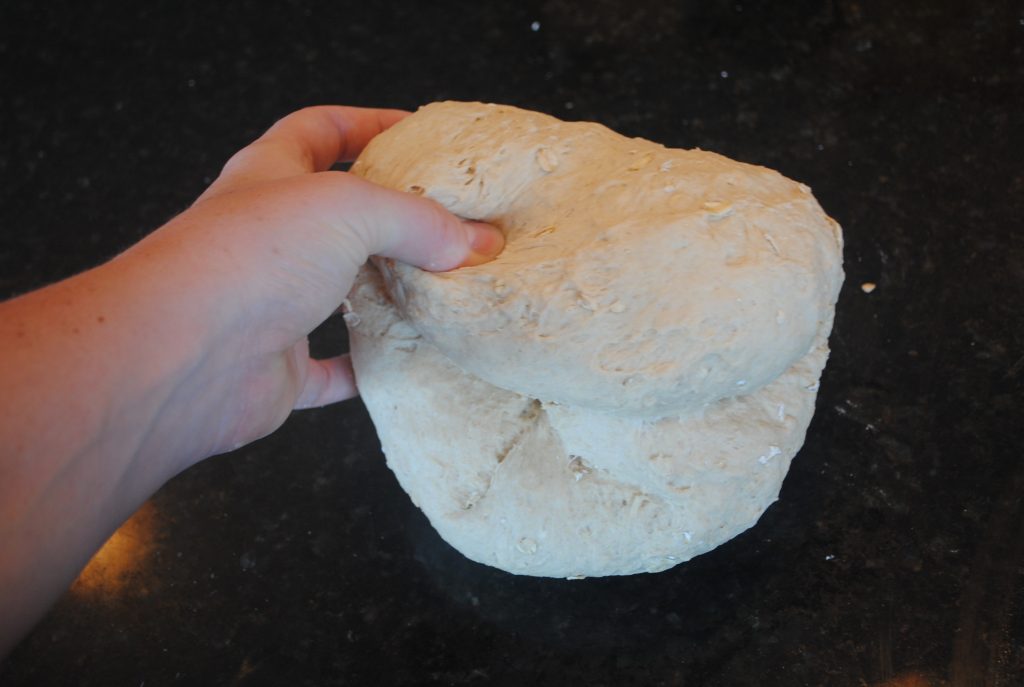
Now ‘degas’ it by punching it down in the middle. This releases the carbon dioxide created by your precious yeast babies.

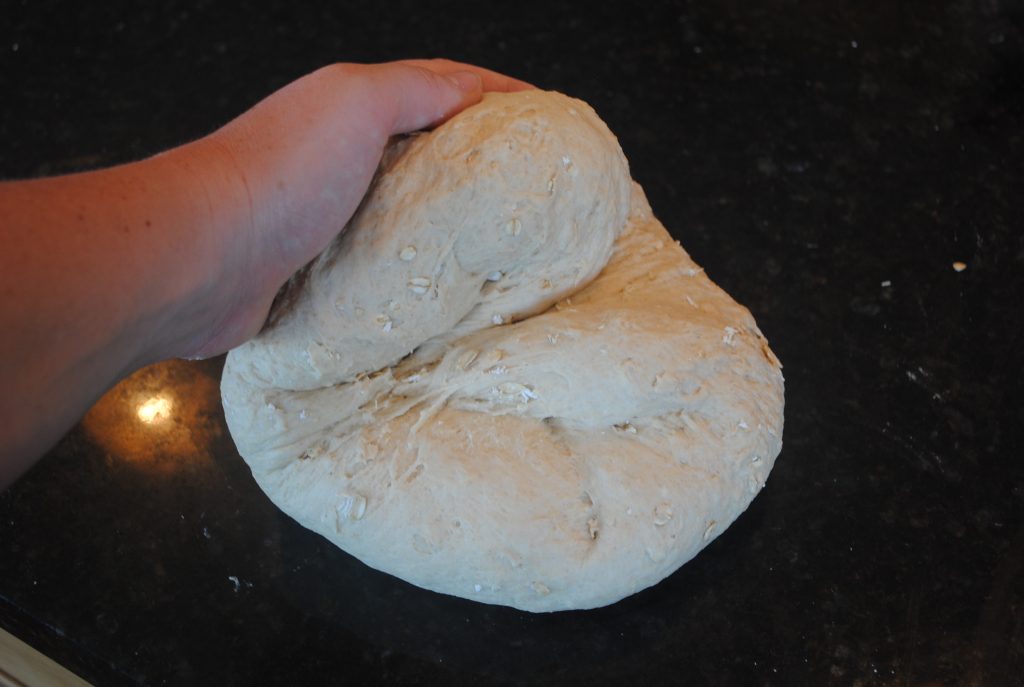
Fold the dough over on itself and let it rest to relax the gluten. (rest: 5 minutes)
While the dough rests, combine 1 egg white and 1 TBSP of water for the egg white glaze. This makes the little oats stick to the top of the bread and gives it a beautiful shine post-baking. If you want a brown-er product, use the whole egg. Set wash aside to use on shaped loaves.

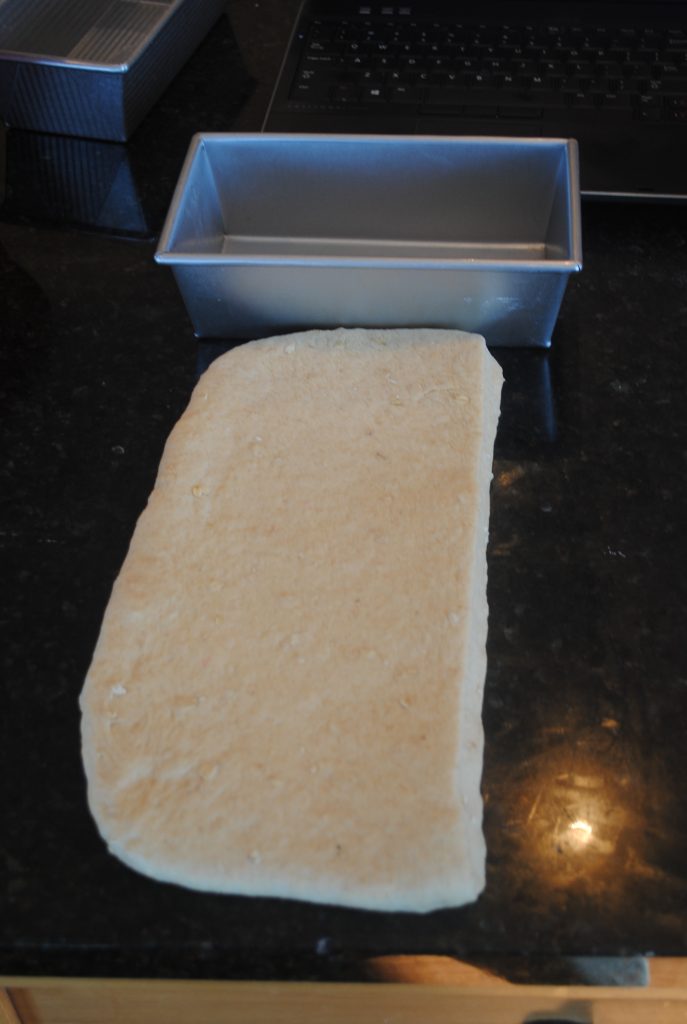
Back to the dough: For shaping, roll the dough flat using a pin to get any extra air pockets released. (You want those OUT, otherwise you will have caverns in your loaf of bread.
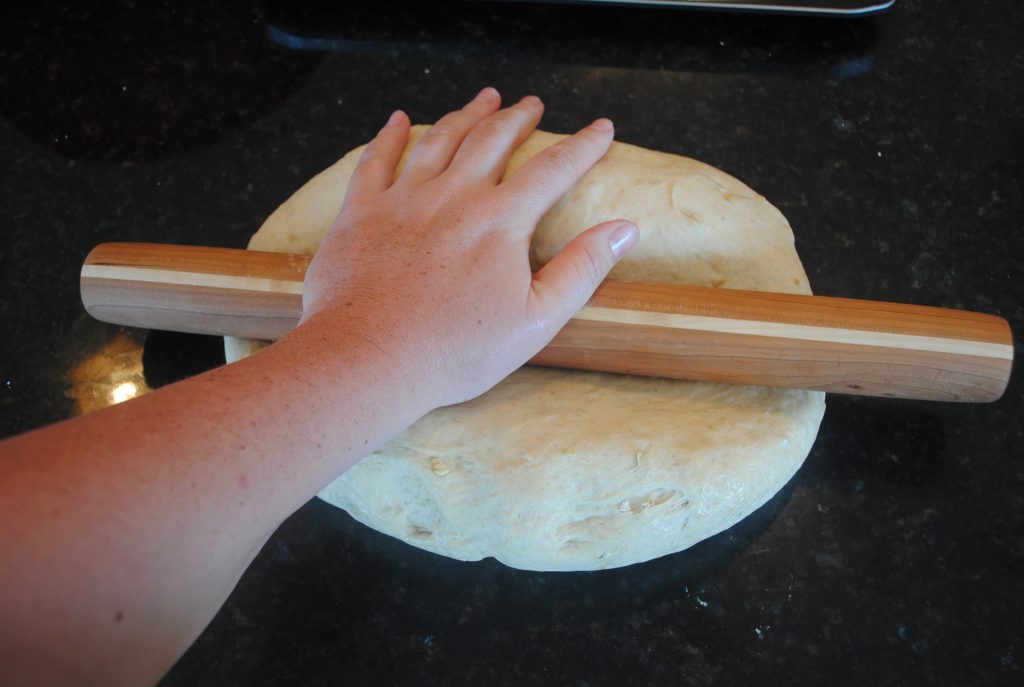
Roll out to 1″ thickness or so. Then cut in half.
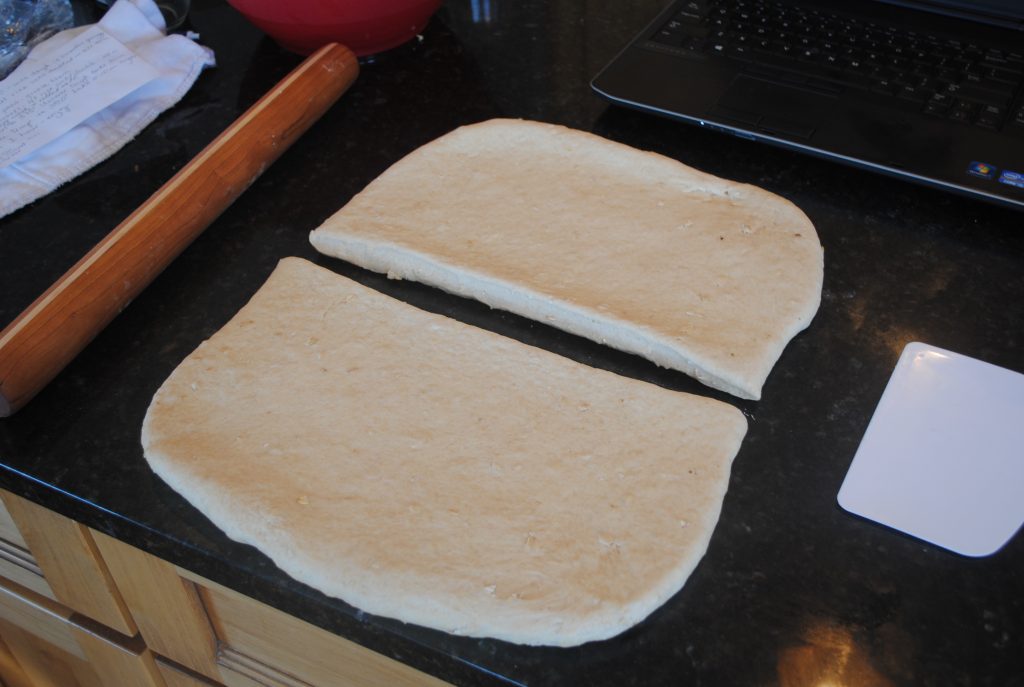
Take 1 of the halves and have 1 greased loaf pan on standby.
Roll it up.

Pinch the seam at the end to seal it closed.

Pinch the ends and turn them under, to seal.

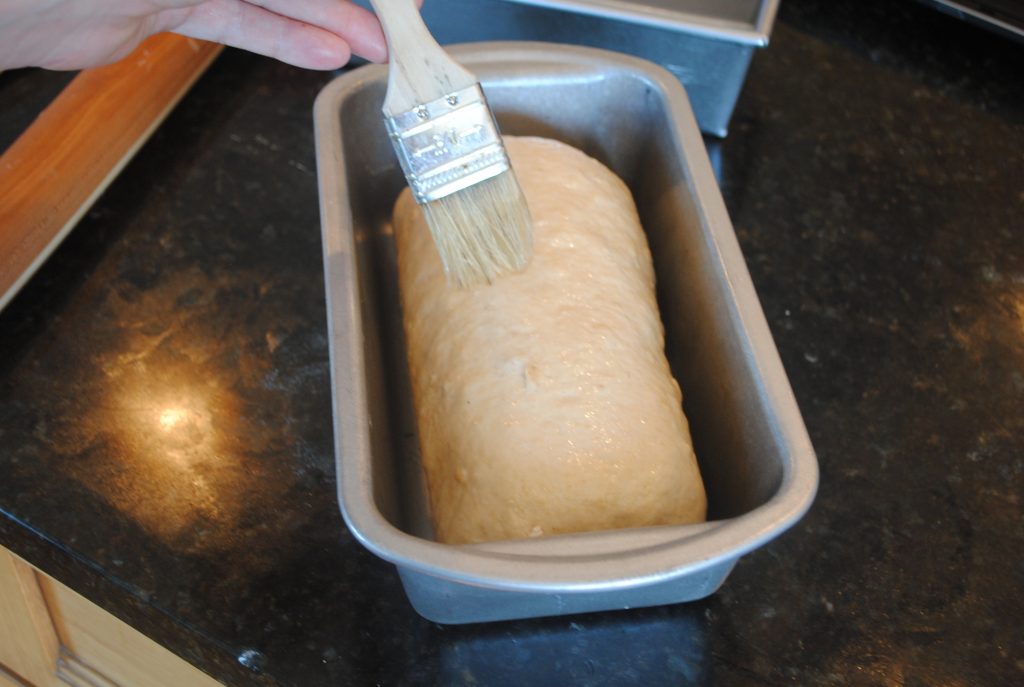
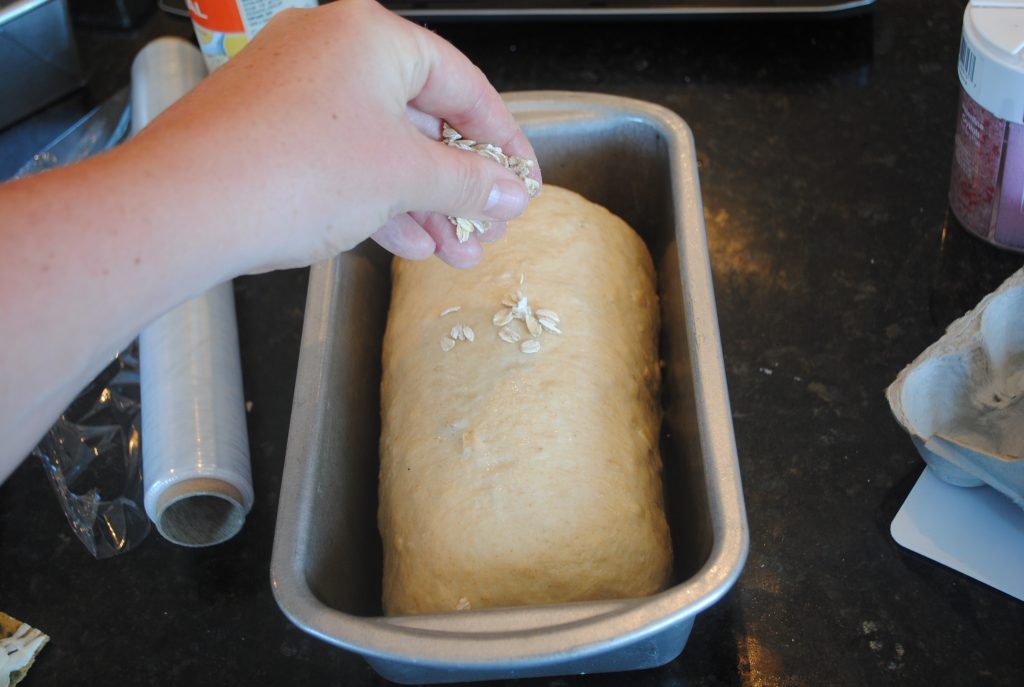
Place loaf in pan and brush with egg white glaze, then sprinkle with oatmeal.
Oatmeal…
Cover and let the loaves rise until they are double in bulk. (At least double, push them a little further if you can).
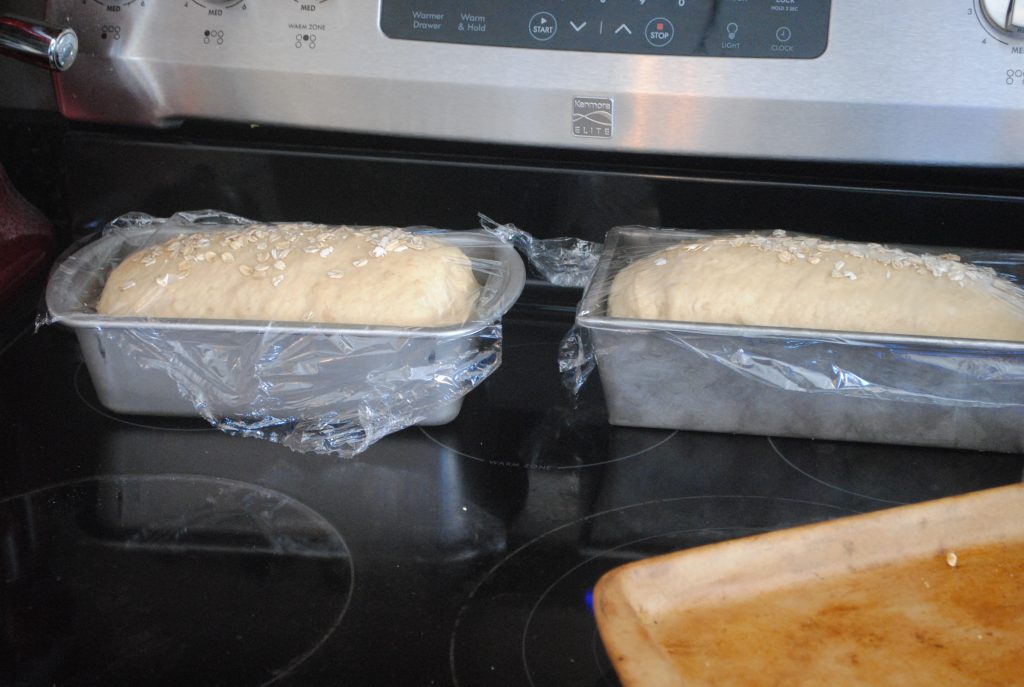
Bake the loaves at 350 for 45-50 minutes until they sound hollow when tapped and are registering at 200 degrees or above on an instant read digital thermometer.
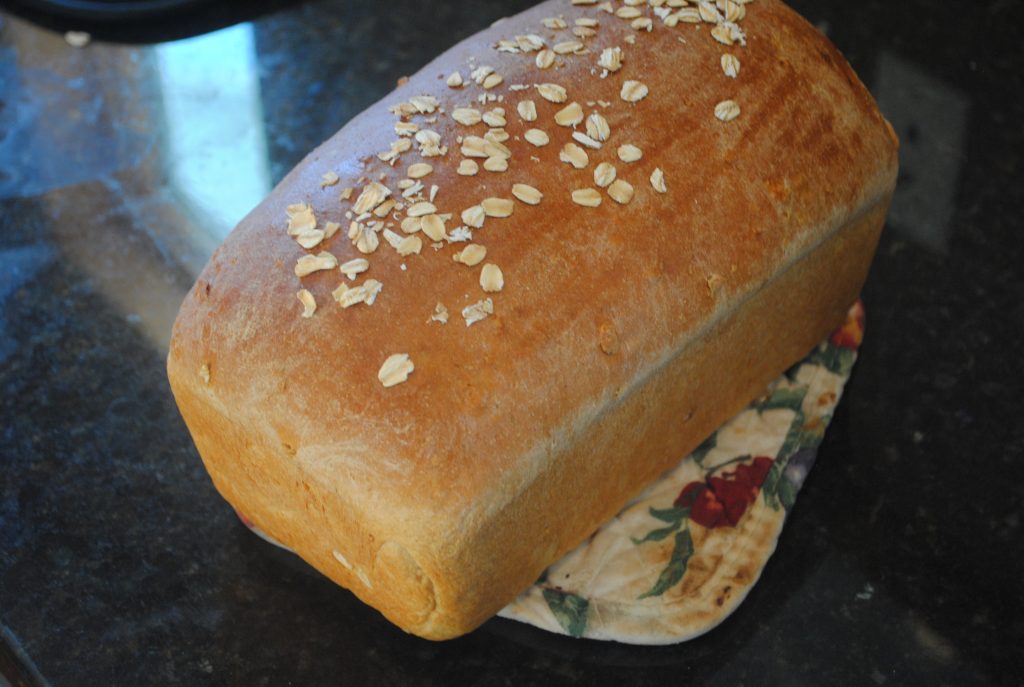
Let them cool a while (preferably 1 hour). Slice those beauties up and serve. For freezing, wrap the baked and completely cooled loaves in plastic wrap (many layers) then aluminum foil and place them in a very cold part of your freezer. Freeze up to 2 months. To bring back to room temperature, remove all coverings and thaw in a warm spot.
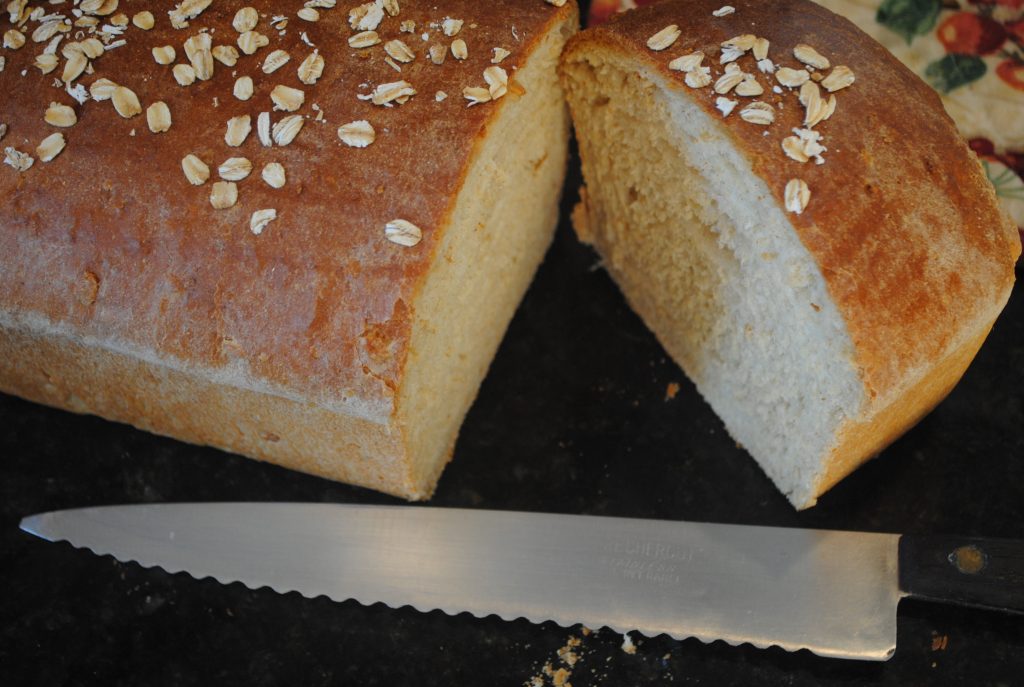

These loaves were cut with a very old bread knife passed down a couple of generations and given to me by my Grandma. The knife was great, although I didn’t have time to wait 1 hour for cooling. Makes 2 large loaves.
Honey Oatmeal Wheat Bread
1/2 C warm water
4 ½ tsp (2 packets) instant yeast or active dry yeast
1 pinch of sugar
3 C King Arthur All Purpose Flour
3 C King Arthur White Whole Wheat Flour
2 tsp salt
2/3 C oatmeal
1/2 C Baker’s Special Dry Milk (or nonfat milk powder)
2 C warm water
1/4 C olive oil
1/3 C quality local honey
1 TBSP cider vinegar *if desired
1 egg white + 1 TBSP water (Egg White Wash)
Combine warm water, yeast and sugar in a small bowl. Set aside to ‘proof’ yeast until foamy (5 minutes). Combine flours, salt, oatmeal and dry milk in a large mixing bowl, set aside. Measure warm water in large 4 C measure, add oil, honey, vinegar and then add ‘proofed’ and foamy yeast mixture. Stir well and add to flour mixture. Stir for 1 minute until a shaggy mass forms. Turn out and knead for 30 seconds. Cover with a cloth and let sit for 5 minutes so flours can absorb liquids. Return, uncover and knead well for 10 minutes. Place in clean oiled mixing bowl. Cover with plastic wrap, let rise until double. Shape into 2 loaves, place shaped dough in well oiled 9×5 or 8×4 loaf pans. Brush with egg white wash, sprinkle on oatmeal. Let rise until double or double and a half (you know me and rise-times, longer is good). Bake at 350 degrees for 45 minutes. Tent with foil during last few minutes of baking so bread does not overbrown. Remove from oven, turn out onto cooling racks, let cool/rest 1 hour. Makes 2 large loaves. Enjoy!
No Comments